Podcast equipment for every budget in 2023
How to choose the right podcast setup for your show and budget. 3 gear packages for beginners to pros, with advice from successful podcaster Sam Baker.
Choosing the right podcast equipment can feel daunting – but it doesn’t have to.
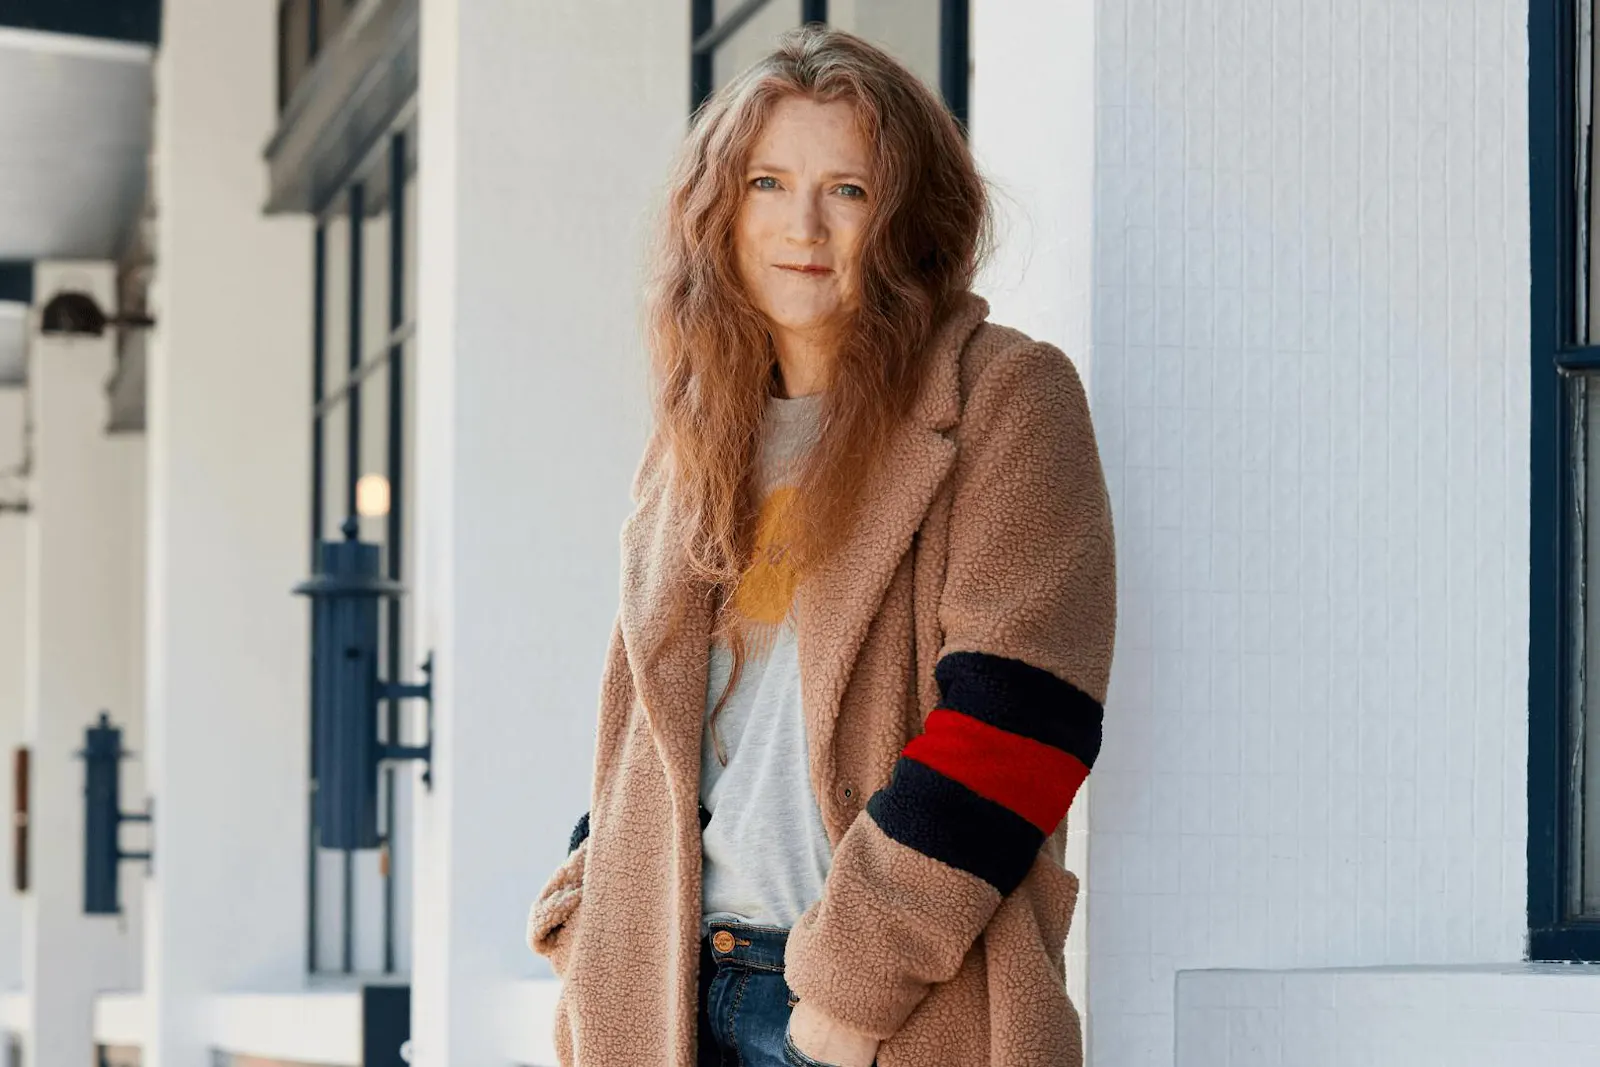
The Shift podcaster Sam Baker (Opens in a new window) had never run a show or recorded proper audio before launching her podcast that celebrates women in midlife and beyond. As of 2022, she’s amassed almost 1 million downloads on her show, which welcomes listeners with a professional but intimate sound. Her fans support her work through memberships on Steady (Opens in a new window) (that’s us, hi!).
Here, she shares with us her favorite podcast equipment and how to buy the right gear for your show.
The prices for recommended equipment are in British pounds, and are current as of June 2022. Most of the equipment is also available elsewhere in the world, so check your local retailers.
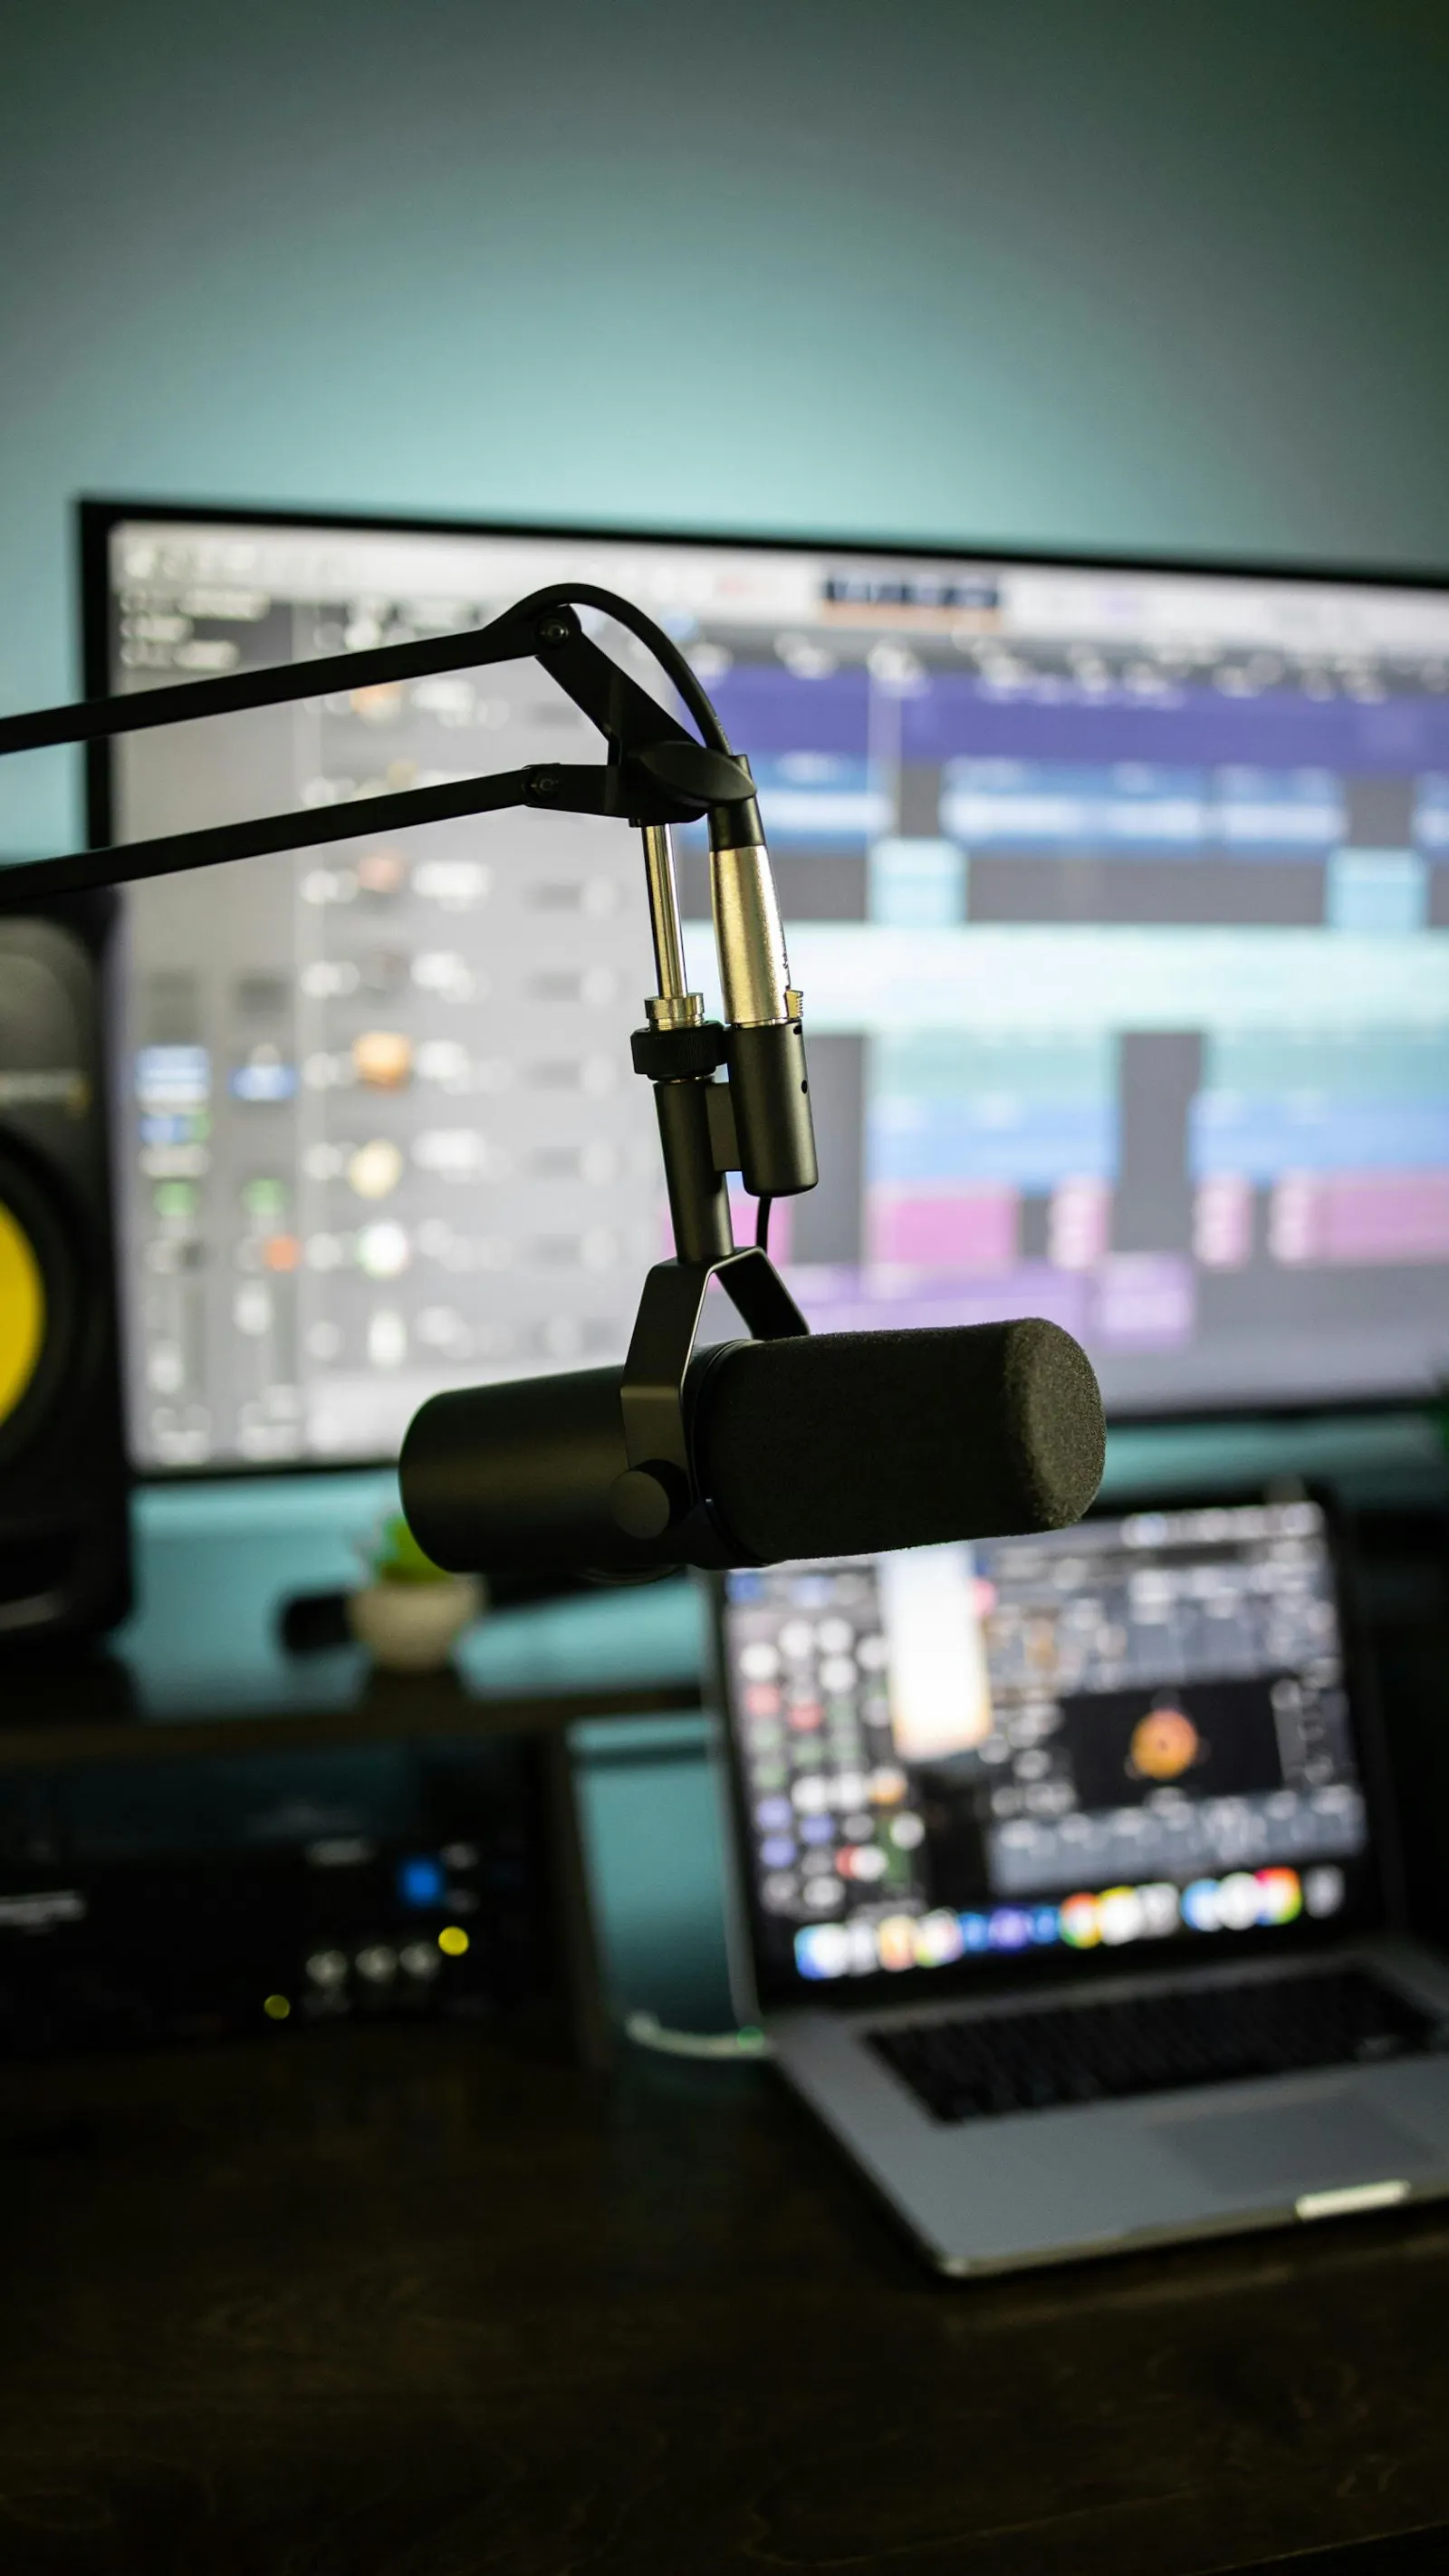
Prioritize your podcasting gear
If you’re right at the beginning of your podcasting journey, simply investing in the best quality gear you can afford is a great start. But there is an absolute abundance of microphones, headphones and attachments on the market, which means there’s a ton of information to wade through first.
To help simplify this process, we’ve identified some key questions you can ask yourself to help narrow down your search.
Who am I trying to reach with my podcast?
Gauging your level of interest will help determine how much money you should invest in your podcast equipment. Is this a hobby, something fun to do with friends, or a professional venture?
What’s my budget?
Nailing down your budget up front will stop you from getting distracted by podcast gear you can’t afford.
How many people am I recording?
How many hosts will your podcast have? And will you have one or multiple guests recording at the same time? This will determine how many microphones you need to buy, unless you are sure your guests will always be recorded remotely. Then you’re depending on them to have their own setup.
How comfortable am I with recording equipment?
If you’re a bit of a technophobe, you’re going to want to focus on simple sound and editing equipment. But if you’re into all the bells and whistles, you might be interested in investing in some more sophisticated gear.
What am I interested in learning?
Podcasting has many components – it’s likely some will be areas of exciting new learning for you. Are you keen to learn how sound editing works? Or is it the script writing that takes your fancy? Heading in with a clear idea of what you want to focus on will help you pull together a podcasting setup that will allow you to develop those new skills along the way.
A great home podcasting setup will allow you to experiment and hone your new craft. Photo by ConvertKit (Opens in a new window) on Unsplash (Opens in a new window)
Will I need video recordings?
If you’re interested in recording video—which can be helpful for social promotion—it shouldn’t be an afterthought. Decide what you want to focus on up-front and this will help you shop for podcast equipment with a clear head.
3 affordable podcasting packages, from hobbyists to pros
Keen to get started? We’ve taken Sam’s advice and put together three easy podcasting packages to get you started, keeping your interest level and skills in mind.
Podcast equipment for hobbyists: £0
Microphone: When it comes to recording your podcast, “you can start on your phone,” says Sam. “If you've got an iPhone that isn't like your grandma's iPhone, the recording facility is really good.” She says if she’d only known this tip, she would have been podcasting years ago.
Headphones: Along with your smartphone, Sam says you can get started with “the most bog-standard headphones. You don't need anything swanky”. When you’re just getting started, any pair of headphones will do.
Editing: “if you've got a Mac, you just use GarageBand.”
Audacity (Opens in a new window) offers free-to-use editing software for other operating systems.
Editing your podcast doesn't have to be a huge investment. Photo by CoWomen (Opens in a new window) on Unsplash (Opens in a new window)
Hosting: Podbean (Opens in a new window) offers free podcast hosting, as long as you don’t exceed more than 5 hours of content per month or 100GB bandwidth
Podcast equipment for lean budgets: £270
Microphone and recording equipment: Sam swears by her Yeti microphone, from Blue (Opens in a new window) (£99.99 as of June 2022).
“I knew someone who had started podcasts from scratch and she said, ‘everybody will say to get it, but it's not because we've all been given it for free’.” Sam says, “it's the gold standard of the bottom line of podcasting equipment.”
You’ll want to add a couple of accessories to that microphone to improve the sound quality. The Blue Yeti shock mount (Opens in a new window) (£20.99) will help prevent any bumps to the microphone from showing up on your recording, while the pop filter (Opens in a new window) (£12.49) helps block out any popping sounds that might naturally occur while you’re speaking.
Headphones: Now that you’re ready to invest in better sound quality, it’s also worth purchasing a set of headphones so you can pick up any noise disturbances there. A pair of over-ear headphones with noise-canceling capabilities will make this much easier, such as the Sony WH-CH710N Noise Canceling Wireless Headphones (Opens in a new window) (£130.00).
Hosting: And you’re probably ready to sign up for Podbean (Opens in a new window)’s $9/month hosting plan (£7.15).
Podcast equipment for professionals: £964
Microphones and recording equipment: Once you’ve hit your professional stride, you might feel ready to invest in some higher-end microphones.
Many professional podcasters use the Shure SM 7 B (Opens in a new window) (£366 including microphone arm and cable). It comes with a windshield to block out breathing noises, Of course if you are more than one person, or bring guests into your studio, you will require multiple mics.
And you’ll want to install some remote recording software to improve your recording experience and manage all your audio tracks all in one place.
“I use a remote recording software called Squad Cast (Opens in a new window) (£366),” says Sam. “Zoom is free, but Squad Cast records at either end, so the quality is better.”
Headphones: The SRH940 headphones from Shure (Opens in a new window) (£225) are what top audio engineers use to record their podcasts. They come with a spare set of velour ear pads, for added comfort.
Hosting: Podbean (Opens in a new window)’s $9/month hosting plan (£7.15) has no storage limit, so you can host dozens of episodes there for a very reasonable price.
Podcast equipment: the basics of how to use your new gear
If you’re searching outside these recommended packages, here’s what to consider when buying podcast equipment.
Podcast microphones
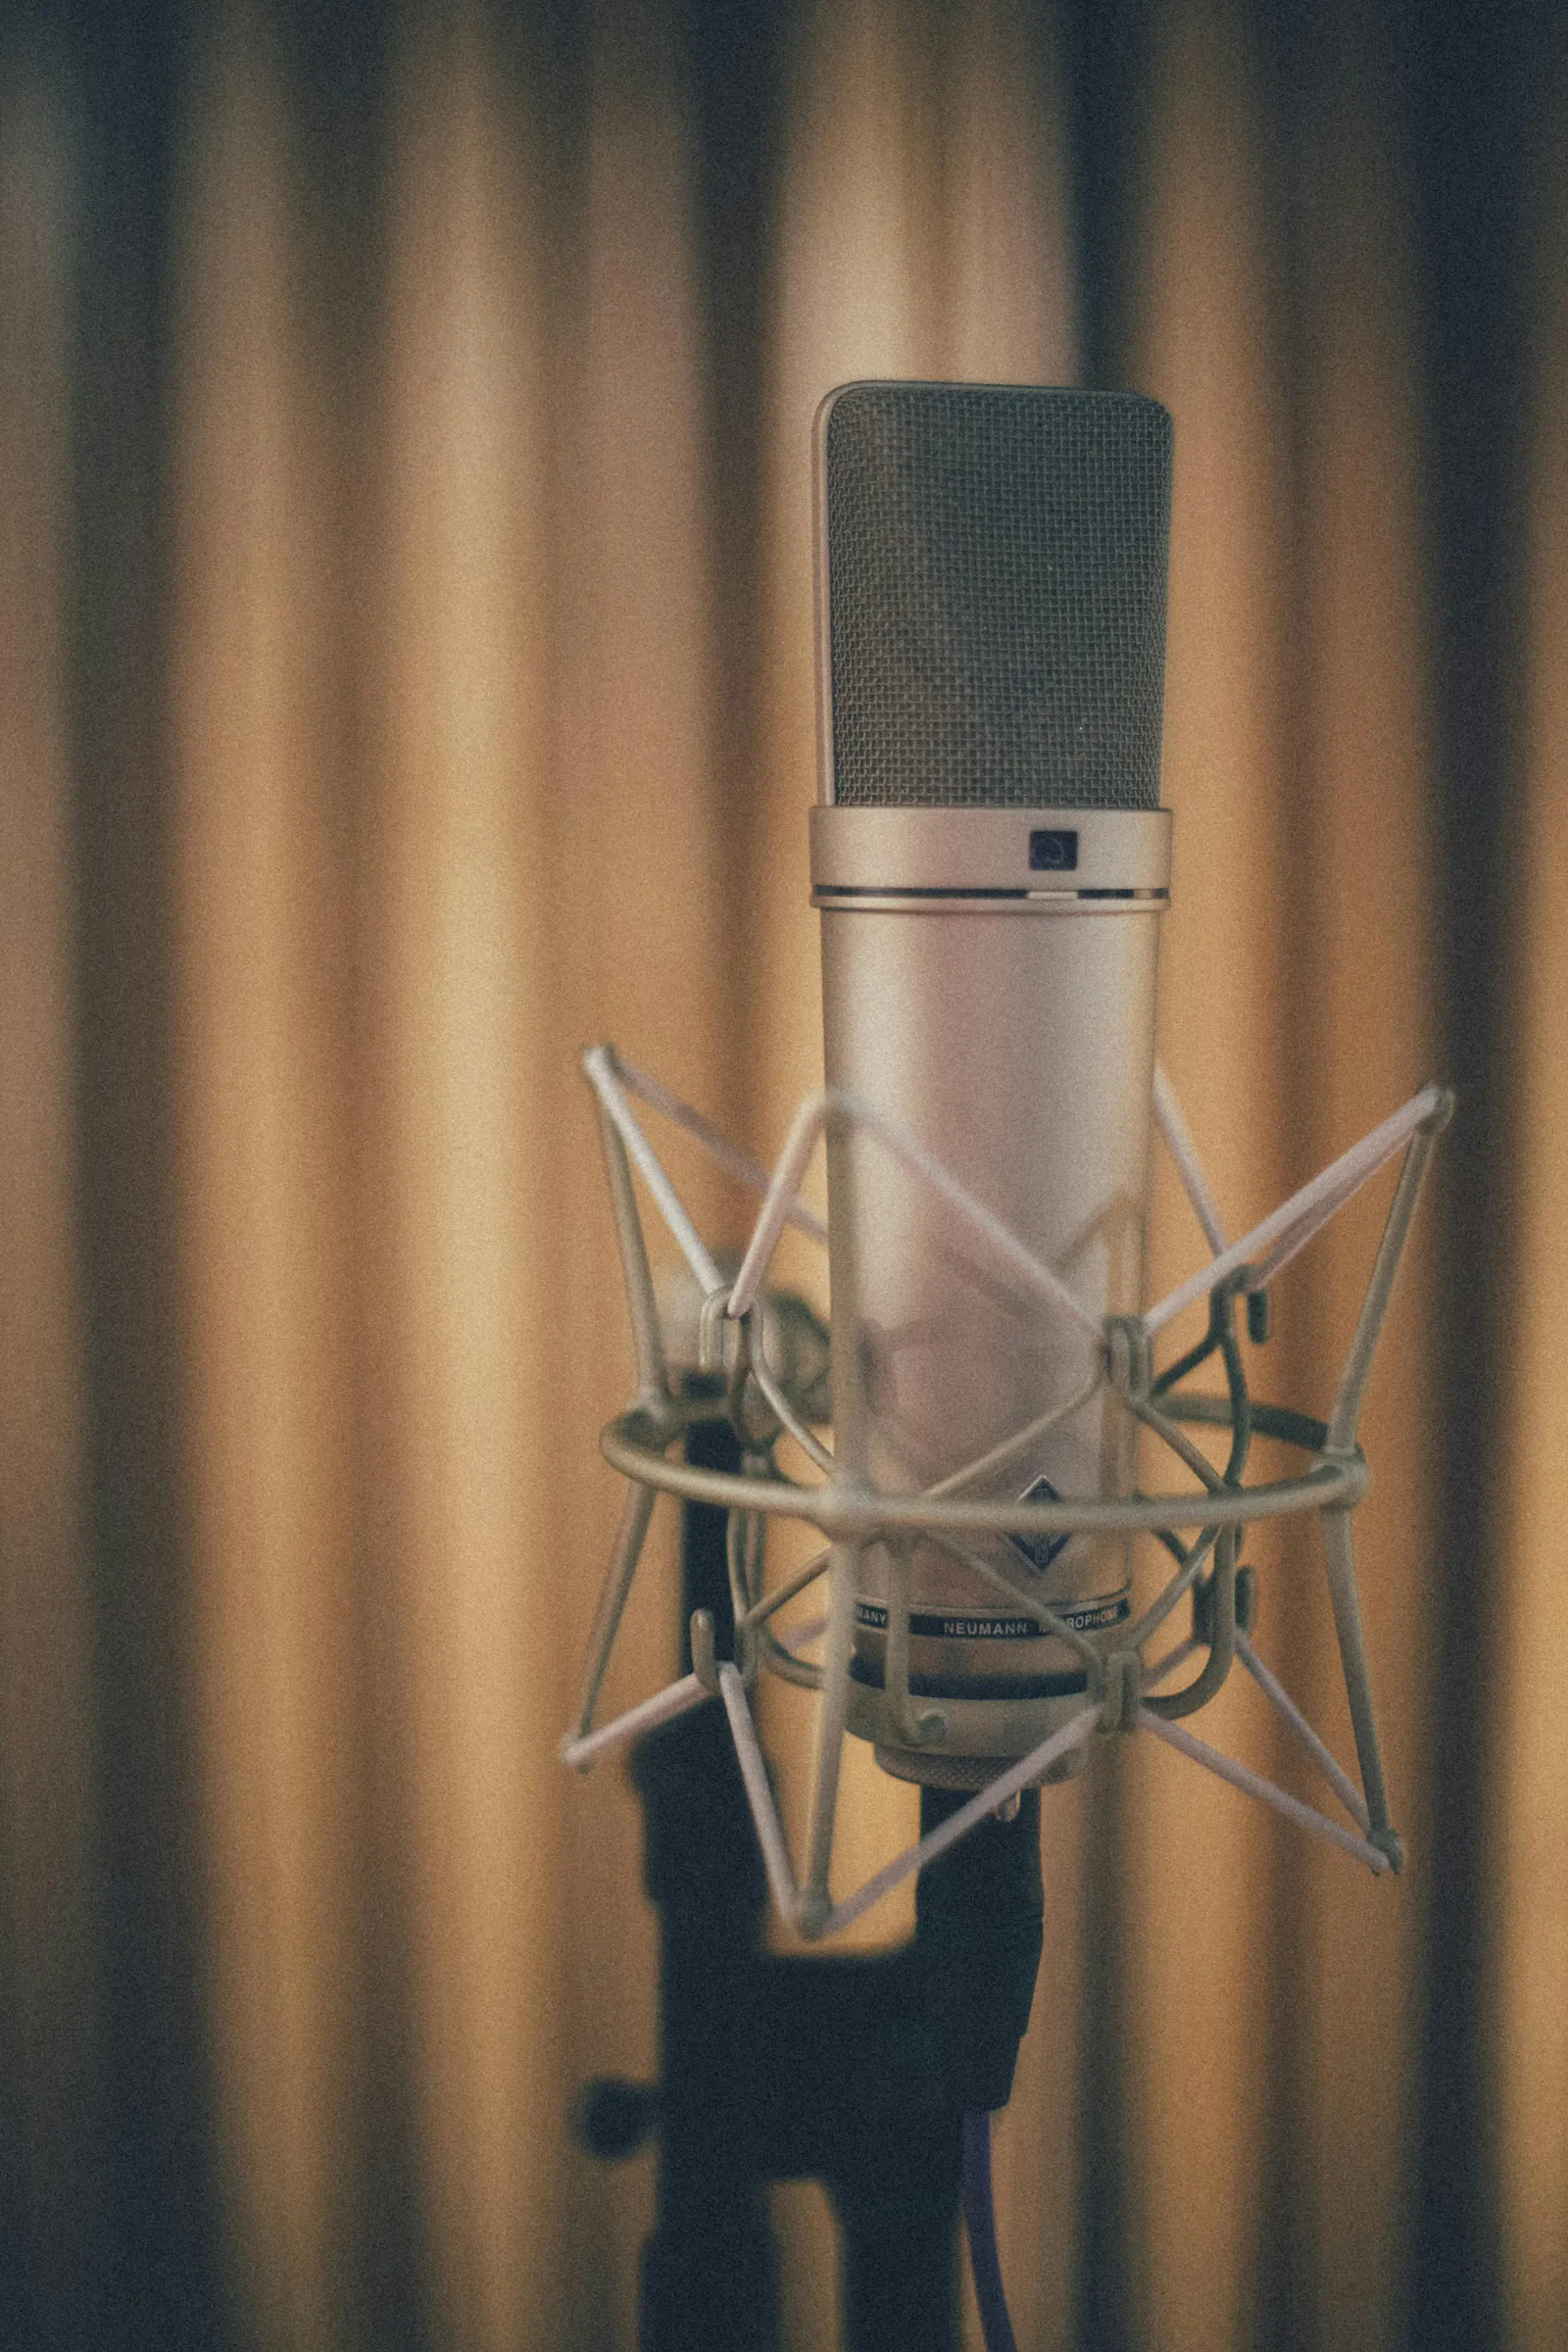
The most important thing about your podcasting microphone is that it needs to be able to pick up your voice from a single direction and not all the other sounds around you. The most common type of microphone for this situation is a condenser mic, which is the same type used by voiceover artists.
A condenser microphone's small size helps it stay sensitive to people's voices. Photo by Joseph Chan (Opens in a new window) on Unsplash (Opens in a new window)
Popular alternatives are directional or shotgun mics, although these tend to be a little less forgiving, so if you move your mouth or head away from the microphone briefly, the sound could be quite uneven.
A shotgun microphone. Photo by Elijah Merrell (Opens in a new window) on Unsplash (Opens in a new window)
If you’re working with multiple voices, it’s best to give each person their own microphone, because when it comes to editing, you’re going to want to separate each audio track. Having each voice on its own mic will make this much easier.
Pop filters
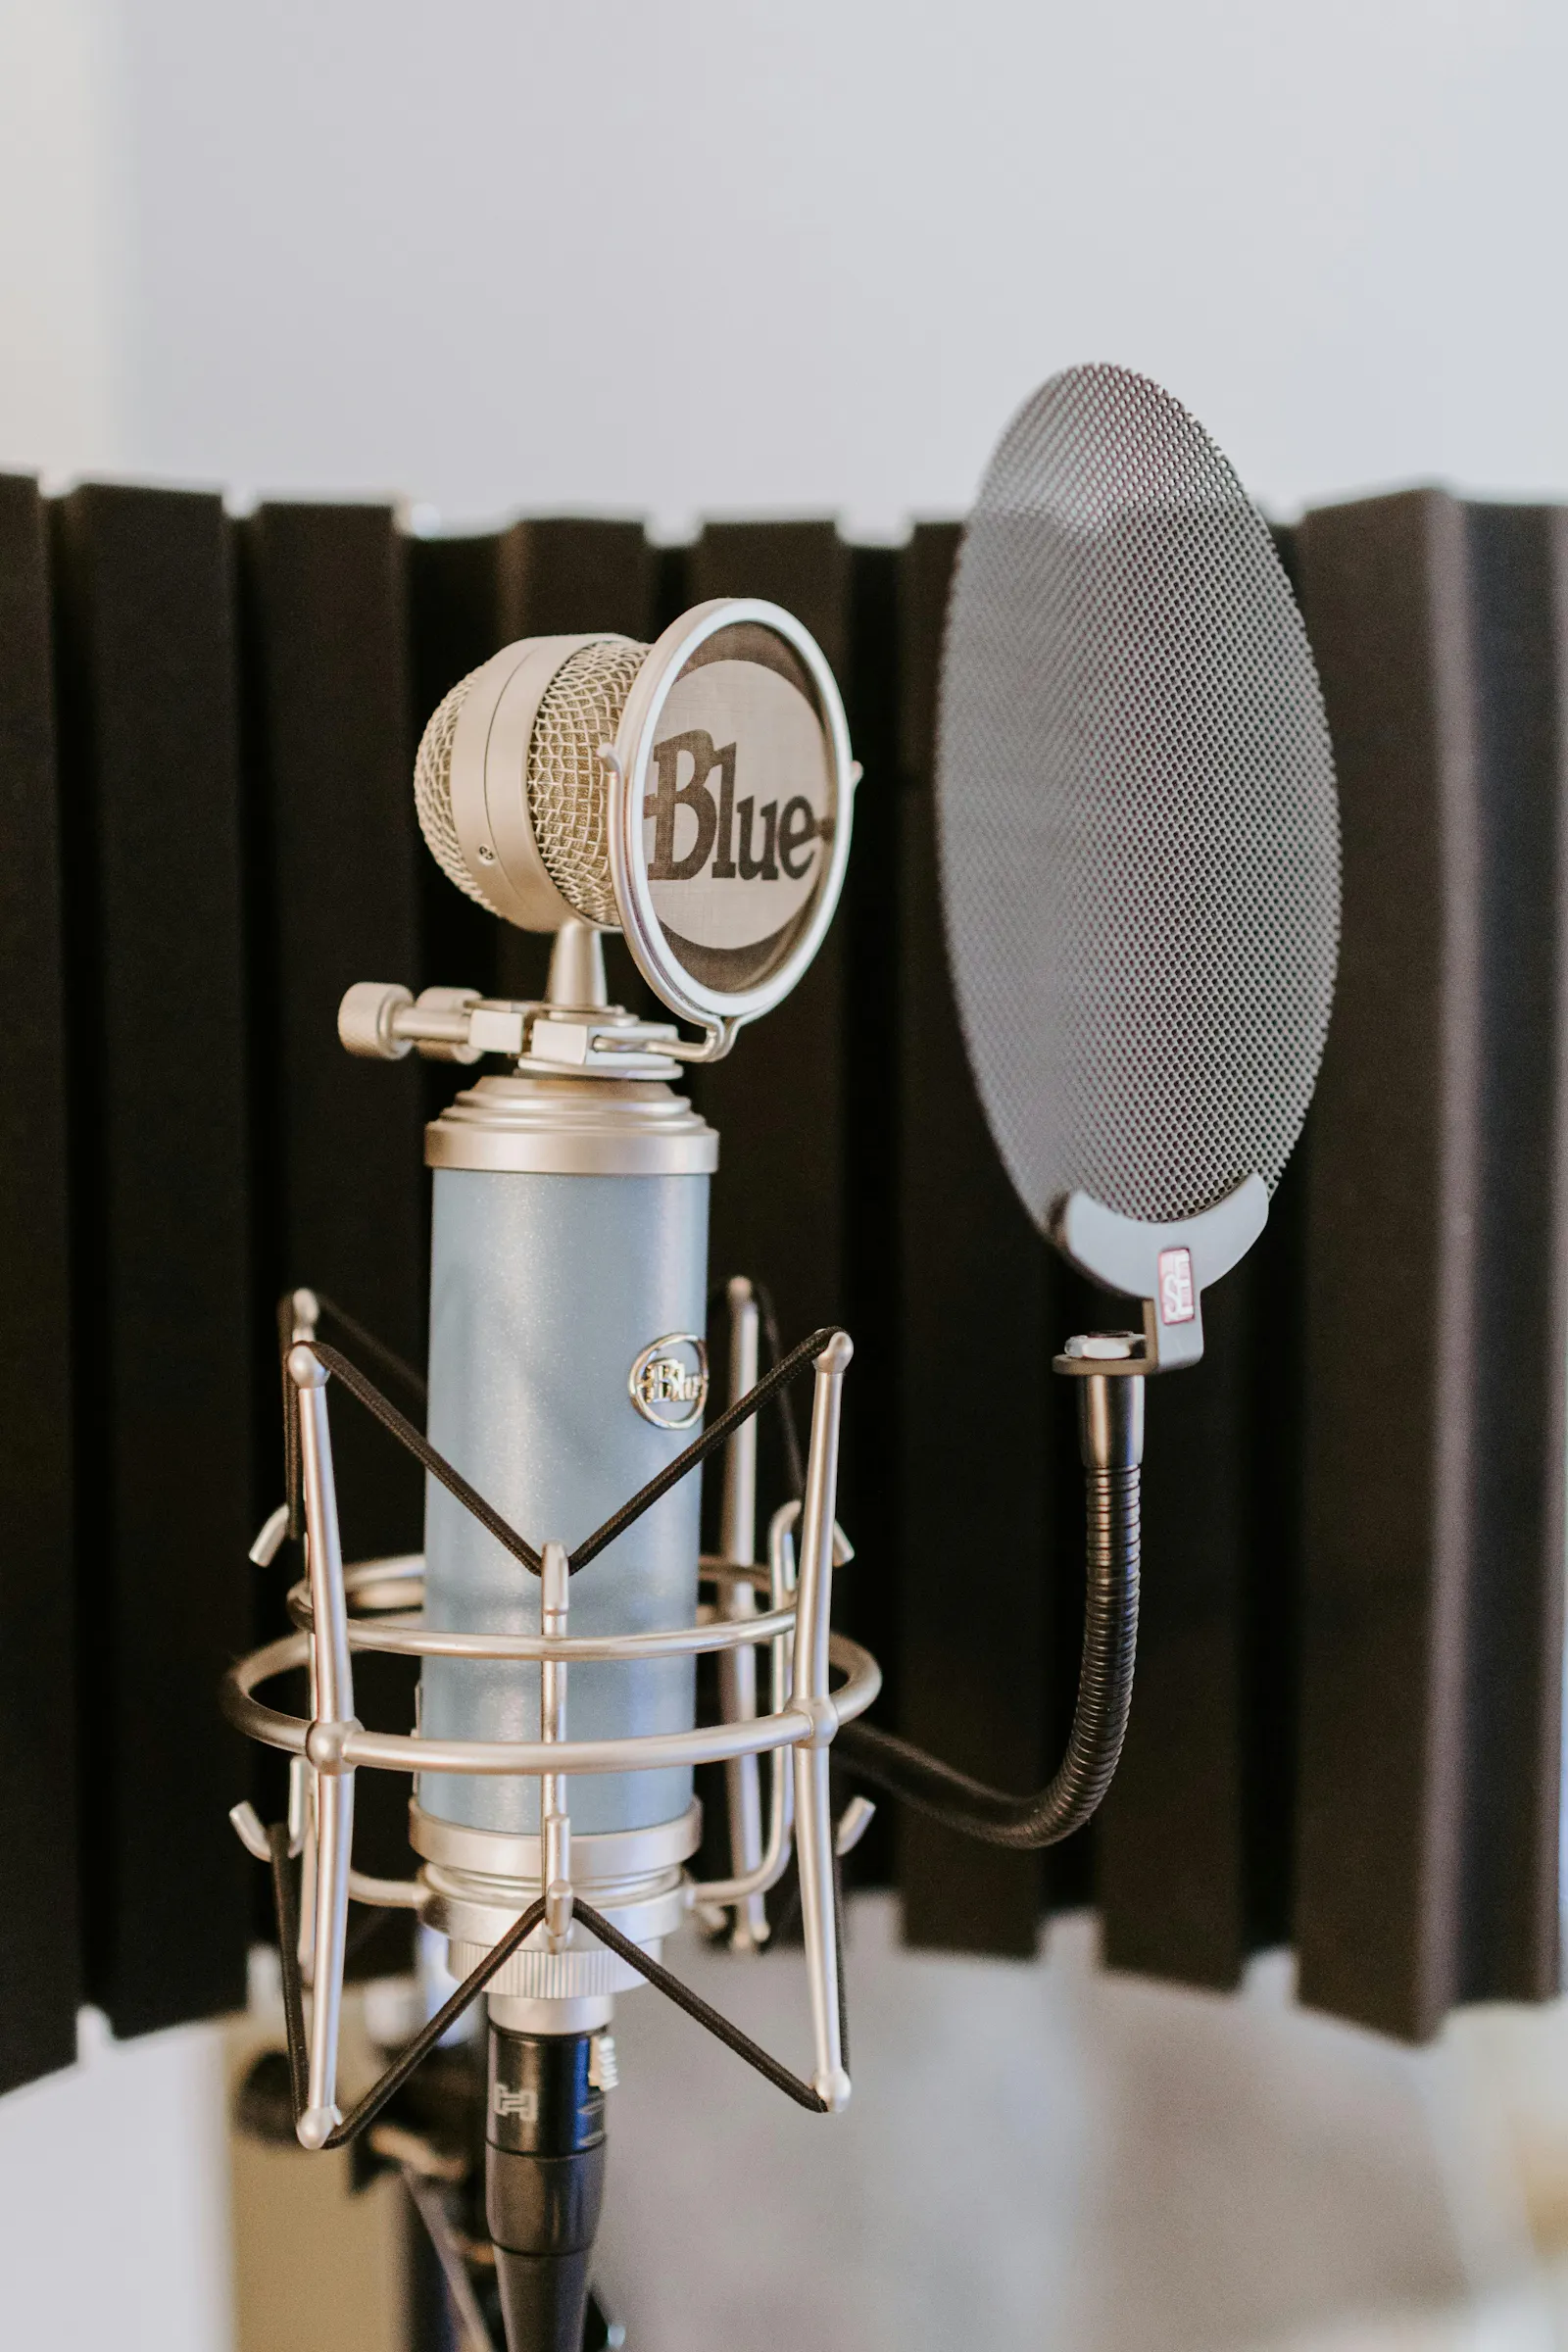
Photo by Kelly Sikkema (Opens in a new window) on Unsplash (Opens in a new window)
A pop filter shields the microphone to help prevent crackles in the audio caused by movement, giving it a smoother sound. The pop filter should be set about a fist away from the microphone itself.
Shock mount
A shock mount is a small metal safety net for your microphone that attaches to a tripod. Like the pop filter, it helps protect the microphone from bumps that can affect the audio.
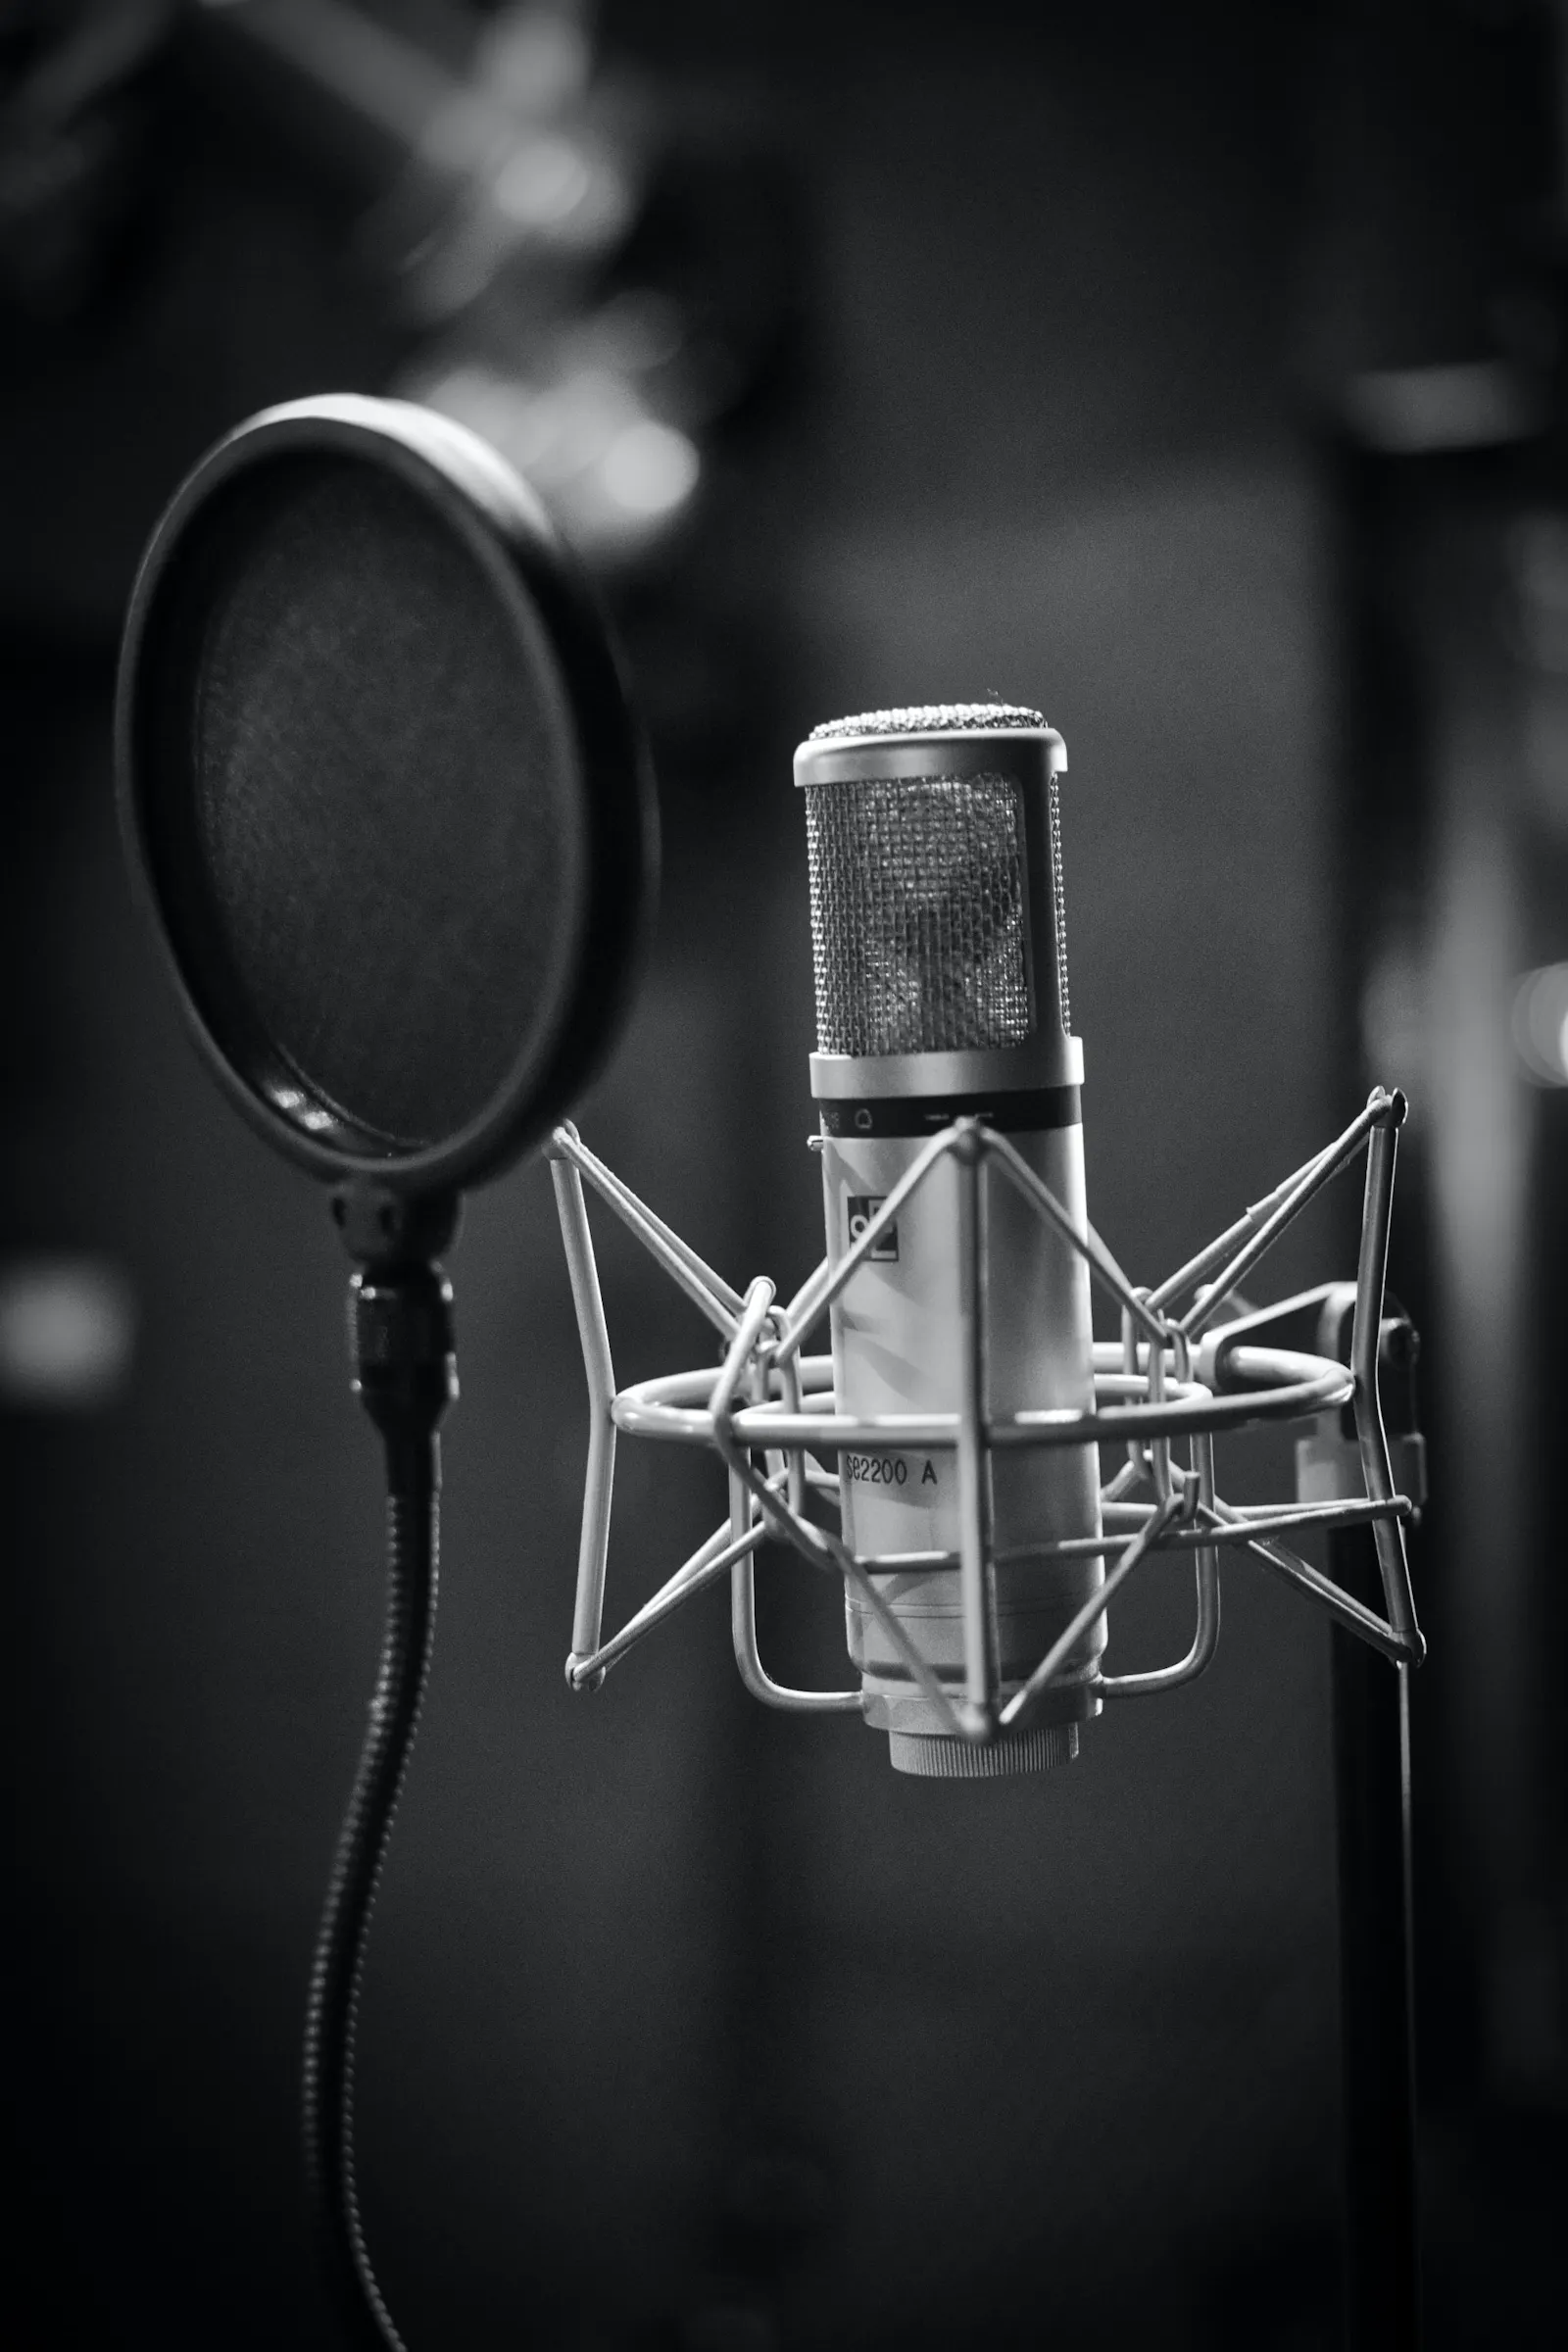
A very happy condenser mic, sitting in its shock mount. Photo by Leo Wieling (Opens in a new window) on Unsplash (Opens in a new window)
You might assume that if you’re sitting still recording at your desk, you’re unlikely to bump into your microphone. But try noticing how often your body bumps against the table as you talk – studio microphones are sensitive enough to pick up the noise of these movements. Reducing them with a shock mount will give your podcast a more professional sound.
Tripod
Mounting your microphone on a tripod will ensure you don’t need to touch it during recording. This is another way to reduce the risk of mic bumps.
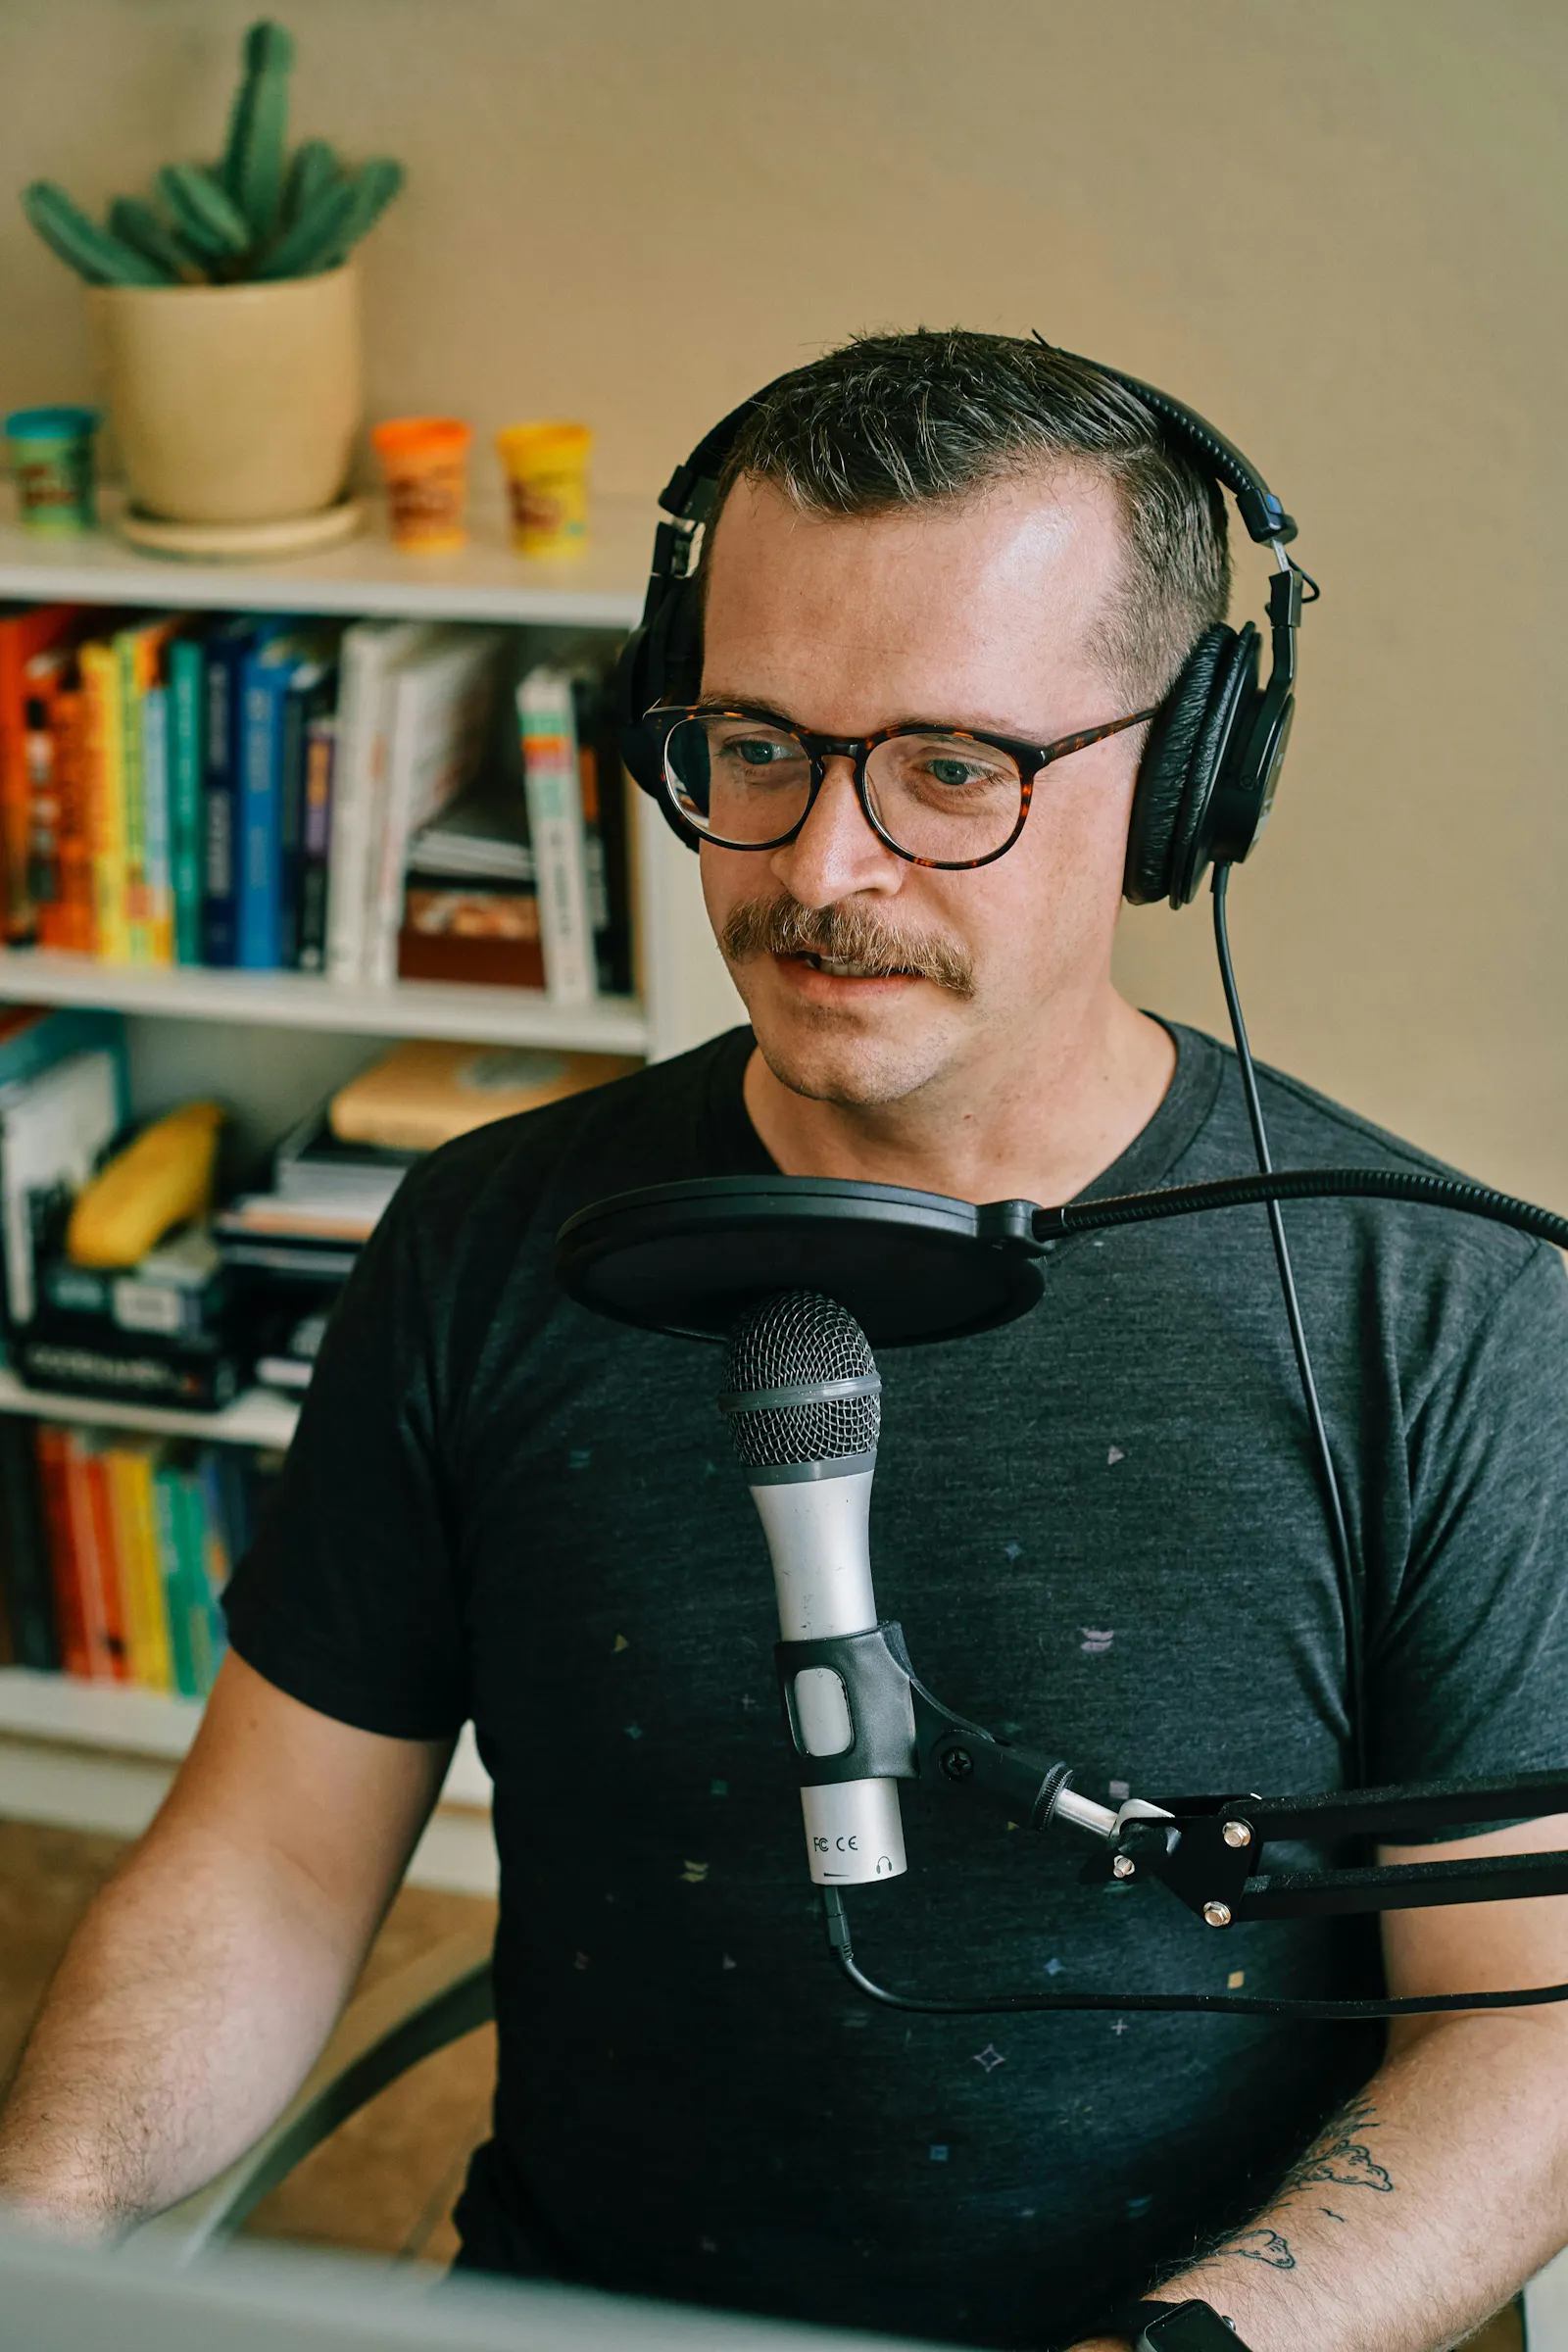
Headphones
As soon as you level up, you’ll need a pair of headphones to use during recording, as well as editing. Using headphones during your podcast recording will allow you to check your audio quality during the session.
Over-ear headphones do the best job of isolating the sounds you need to hear, without the background noise. If you can afford noise-canceling headphones, even better.
You’ll also need headphones for each speaker on your podcast, so you can hear yourselves and each other.
Recording software
Once you’re ready to level up your podcast equipment, using recording software allows you to record sound at either end of your interview. This means that both your voice and the voices of any interviewees are recorded at the source, leading to better audio quality, rather than you recording bad quality audio of someone sitting in a faraway location.
Audio mixers
An audio mixer is a physical box with controls for moderating and balancing your various sound inputs. If you’re expecting to have guests on your podcast, then make sure you choose a mixer that can cope with recording guests who aren’t present in your studio.
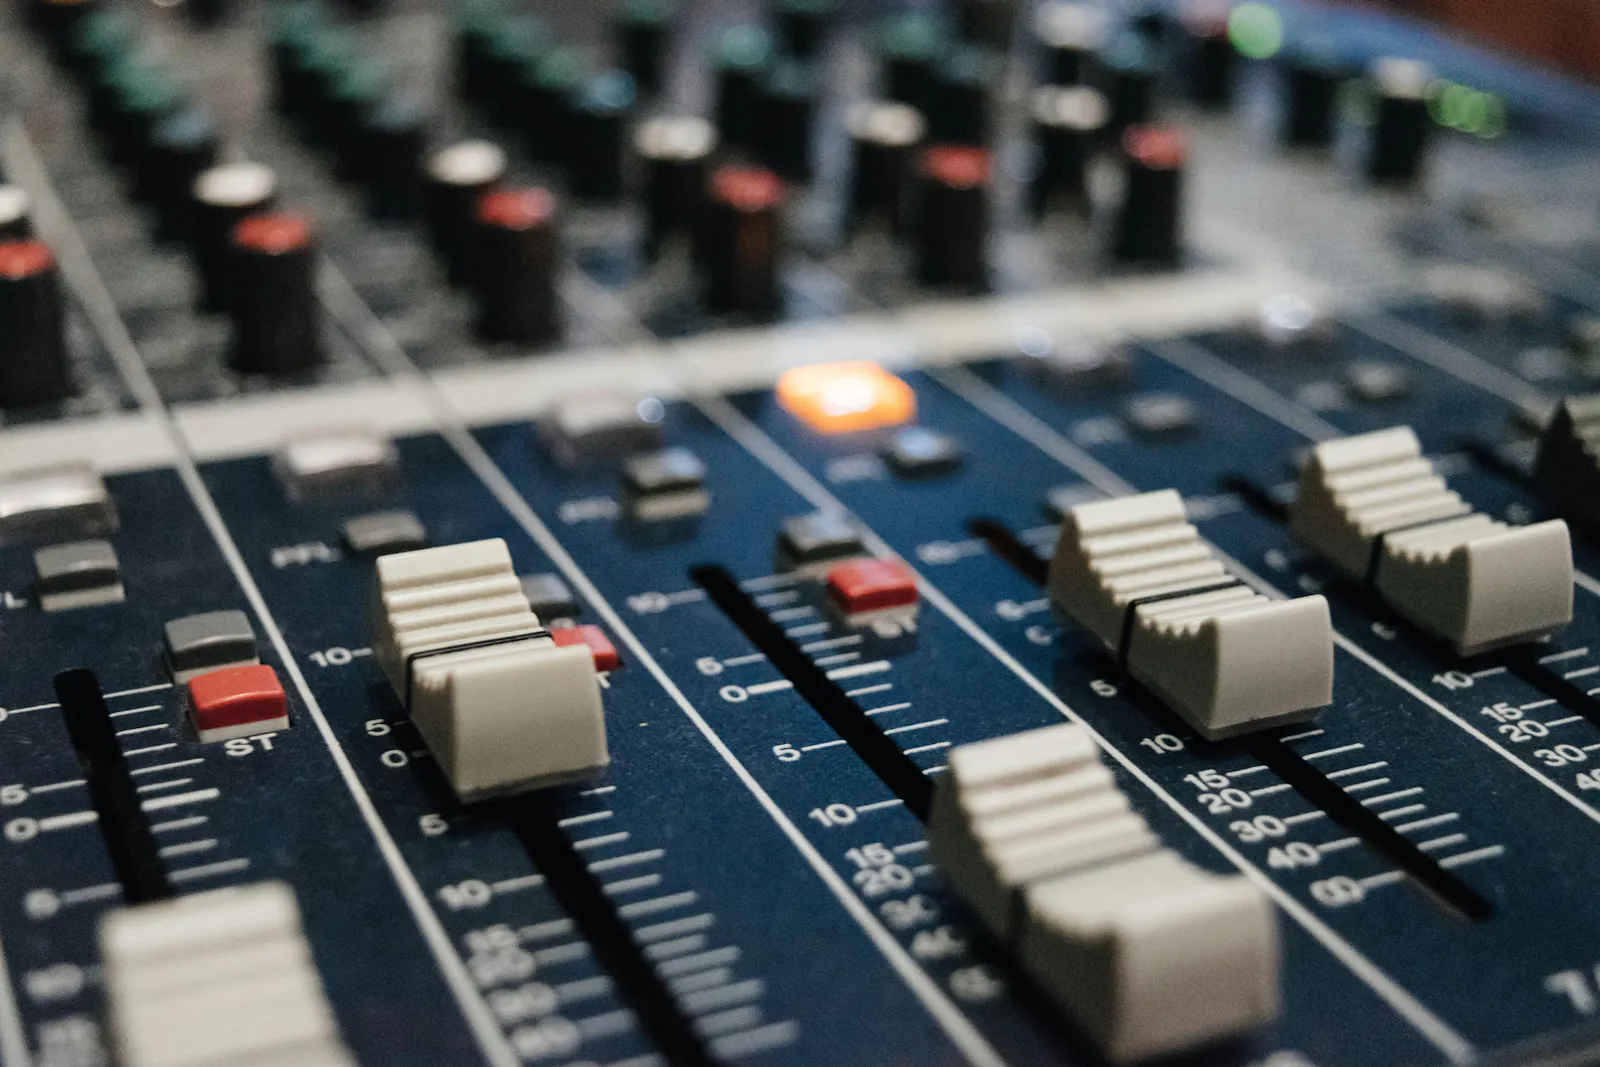
Audio mixers can be complex, but there are also plenty of smaller portable models available for purchase. Photo by Alexey Ruban (Opens in a new window) on Unsplash (Opens in a new window)
No one enjoys hearing their own voice fed back to them. To avoid this, set up a mix-minus on your audio mixer — this will ensure the person on the phone hears your audio mix, minus their own audio. Note: in order to set up a mix-minus, you will need a mixer capable of creating a primary and secondary mix.
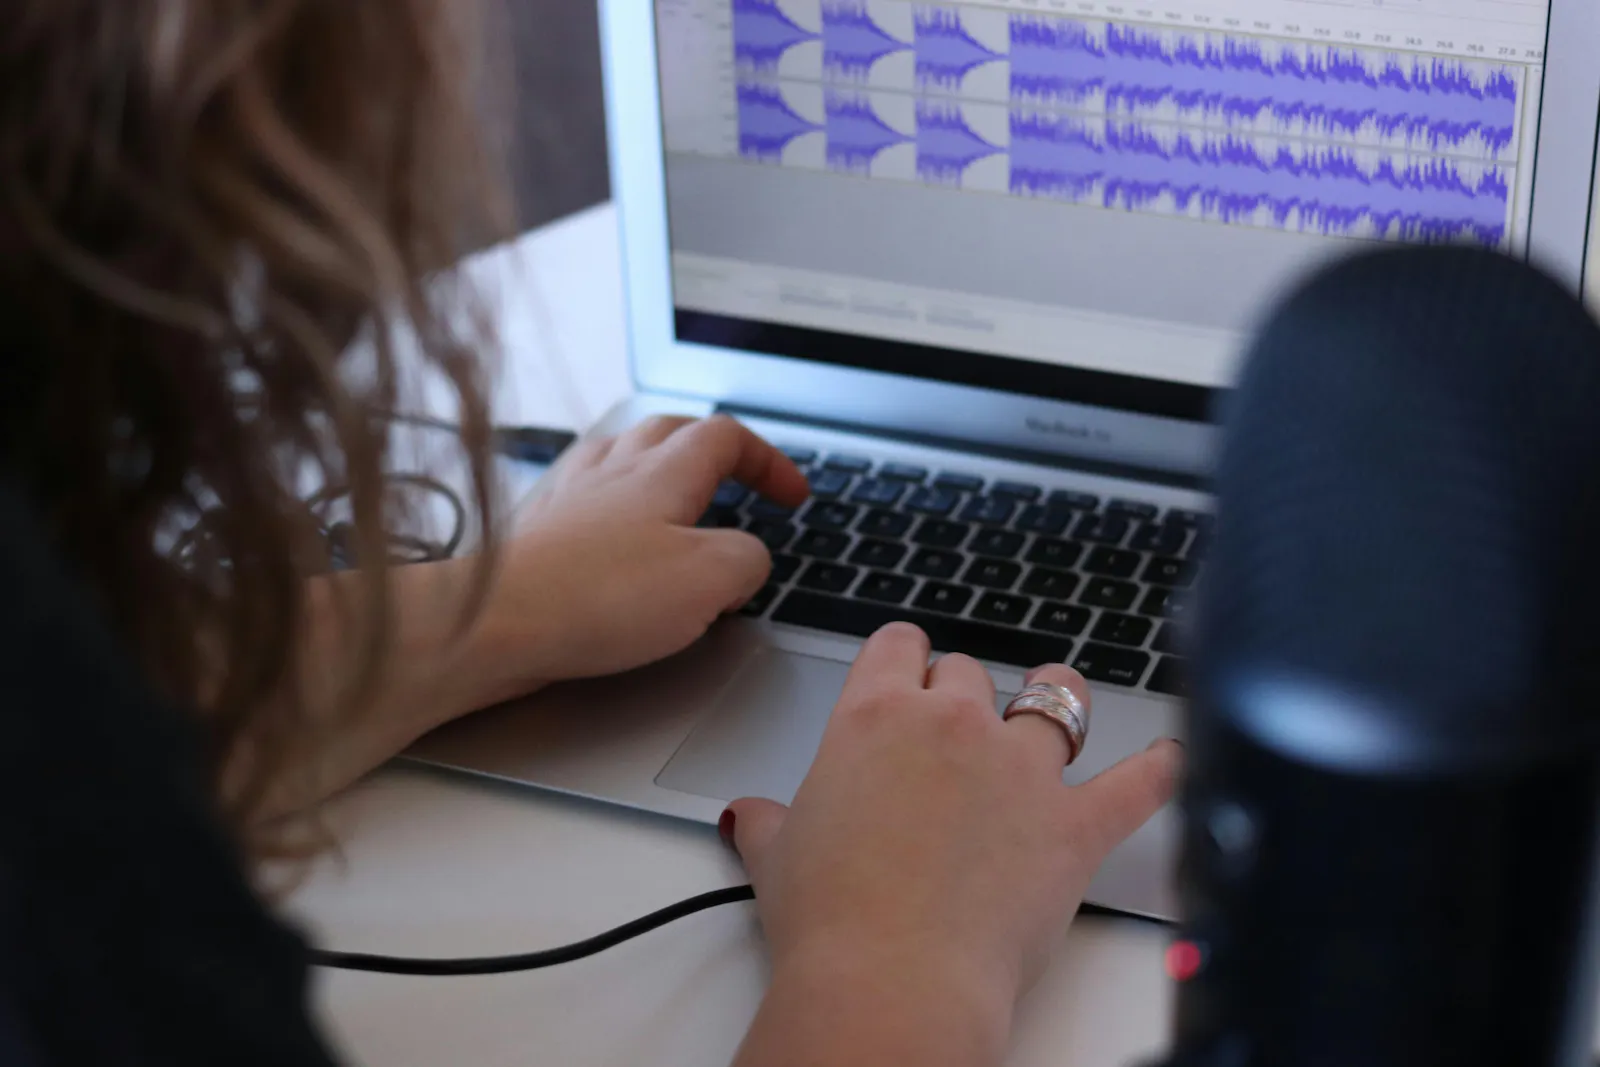
Podcast editing software
“The reality of what two people having a great chat about stuff sounds like and what an edited conversation of two people having a great chat about stuff sounds like it can be quite different,” says Sam Baker. If you want your podcast to have a professional air, good editing is essential.
The most popular podcast editing software options include:
Audition (Opens in a new window) from Adobe
Pro Tools (Opens in a new window) from Avid
Audacity (Opens in a new window), which is free to use and therefore a great options for newbies
Some of the other programs offer free trials, as well.
The great thing about learning to edit audio is that you aren’t alone: due to the meteoric rise in the popularity of podcasts, there is a plethora of support for newbies available online. YouTube is packed with audio editing tutorials, where you can search for whatever specific skills you are wanting to learn or the problem you need to troubleshoot.
And remember: “YouTube tutorials are your friend. The Yeti [microphone] and GarageBand software just from a couple of YouTube tutorials,” says Sam. “I'm not a digital native. If I can do it, you totally can!”
Sam Baker uses Steady to offer paid memberships to her most dedicated listeners. Your podcast deserves support, too – sign up today (Opens in a new window).
Tips for recording your podcast
Perfect your microphone technique
Perhaps more important than which microphone you choose is how you use it. Improving your technique will take time, but here are two tips to start off with:
Condenser mics get the most out of your voice when you’re close to them, ie. not more than a fist away from the microphone. If you rest your nose on the plastic edge of the pop filter for the entire recording session, you can expect a very consistent audio quality, which will mean less work when it comes time to edit.
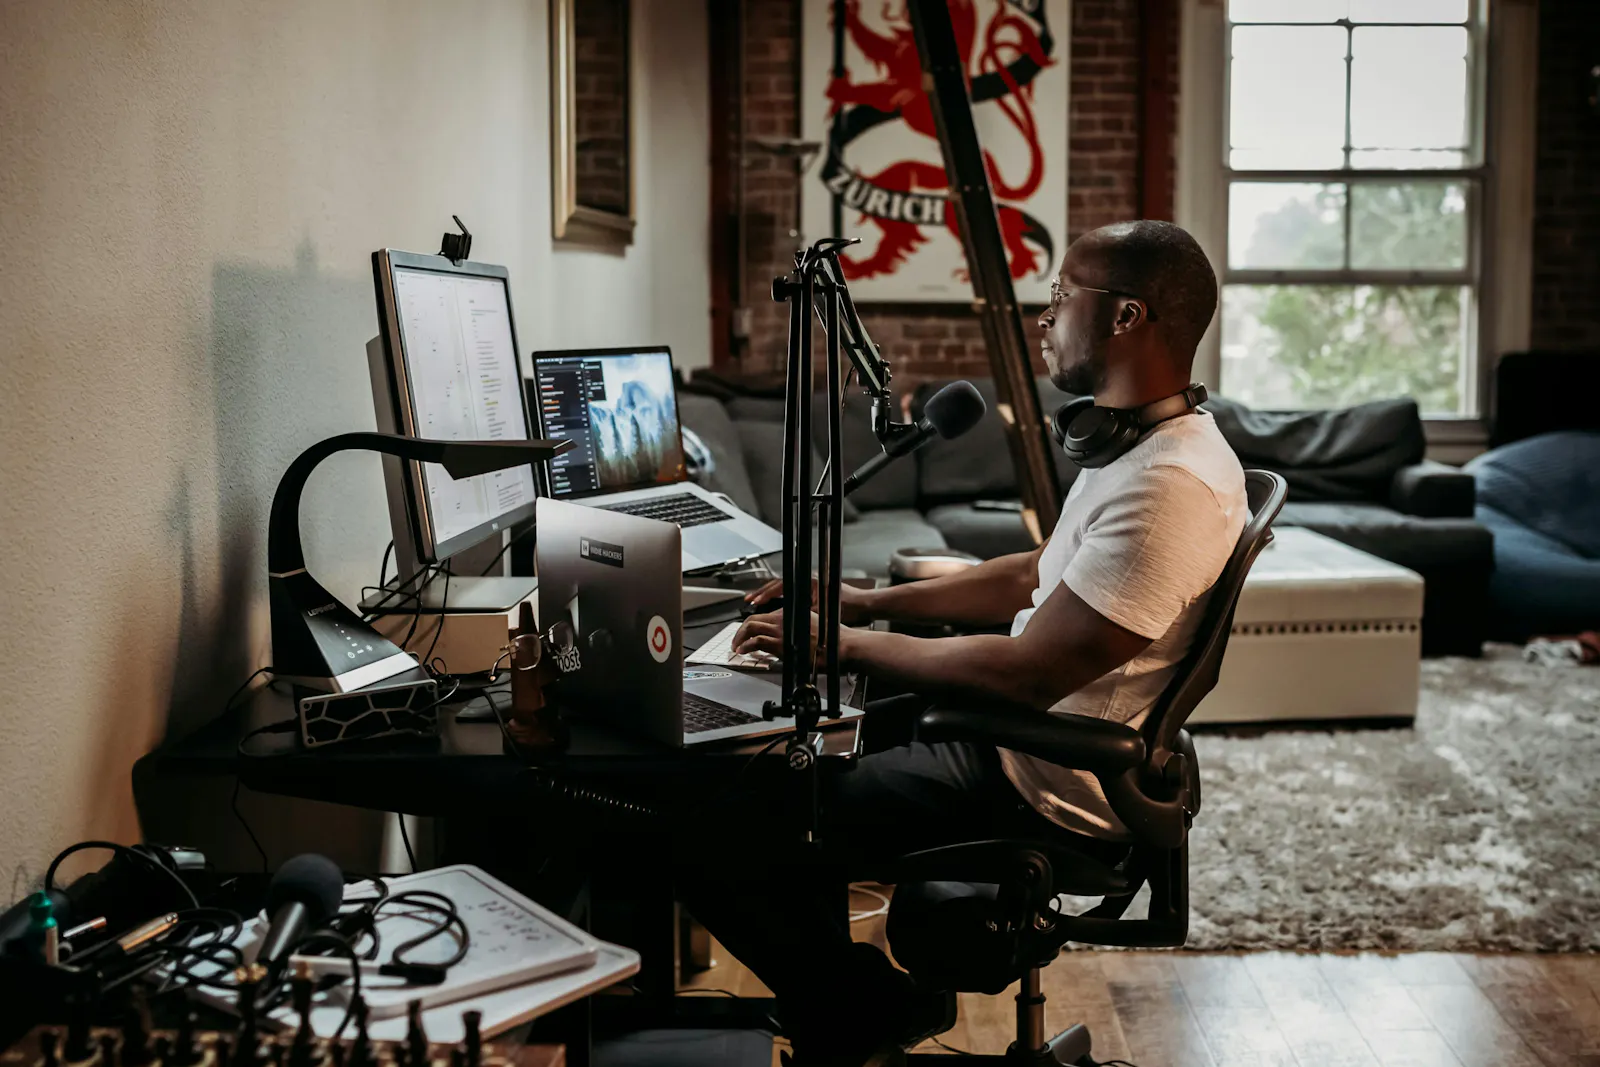
Photo by ConvertKit (Opens in a new window) on Unsplash (Opens in a new window)
When you know you’re going to laugh, pull away from the microphone to avoid audio distortion and, again, maintain audio consistency.
Zoom and phone interviews
Many podcasts involve interviews with guests who aren’t in the same room as the hosts. This is easy to do with a little planning.
First, make sure everyone on the call is aware there may be a small delay between speakers, and ask them to avoid interruptions, or even mute themselves when they’re not speaking. That will make it easier to piece the conversation together in the edit.
You might like to use a tool like Zencastr (Opens in a new window) that records each person’s audio locally and saves it to the cloud, minimizing interruptions. Note that this option requires that your guest has a decent microphone, too.
Best places to record your podcast
If you’re a regular podcast listener, you may have noticed a number of podcasters mentioning that they record from inside their closets. They do so for a very good reason.
When you’re recording your voice, you’re trying to reduce how far your sound waves can bounce and echo. The smaller the space, the better. But it’s not just the small size inside most wardrobes that make them great recording spaces — the surrounding clothes help to absorb any reverb. That means there’s no need to empty out your closet each time you’re ready to record!
If you’re recording multiple people, though, you’re unlikely to all fit inside a closet. In that case, the smaller the room, the better.
Carpets, curtains, and fabric can help to absorb excess sound. The most important places to cover up are the walls directly in front of and behind each speaker, in line with the height of their mouth. Foam panels for your walls can be a cheap and effective way to soundproof your room.
Once you find your groove and get to know what works in your space, you can even make editing presets for specific locations to help speed up your editing process.
Podcasting gear in 3 easy steps
Finding the right podcast equipment to suit your budget doesn’t have to be a headache. Simply:
Get your podcasting priorities in order
Select a gear package in line with those priorities
And then add any extras as your needs and/or budget expand
Before you know it, you’ll have your first episode ready to broadcast to the world.
Ready to take your podcast to the next level? Get listener support for your project with memberships: