SCREENPRINTING WITH NITA UND MIKKI, PT.2
SCHABLONE / STENCIL
by @nita_und_mikki (Opens in a new window)
If you haven't made a sieve yet, go here for an instruction on how to make one (Opens in a new window), using a wooden frame or a tetra pak.
Wenn du noch kein Sieb gebaut hast : hier entlang (Opens in a new window).
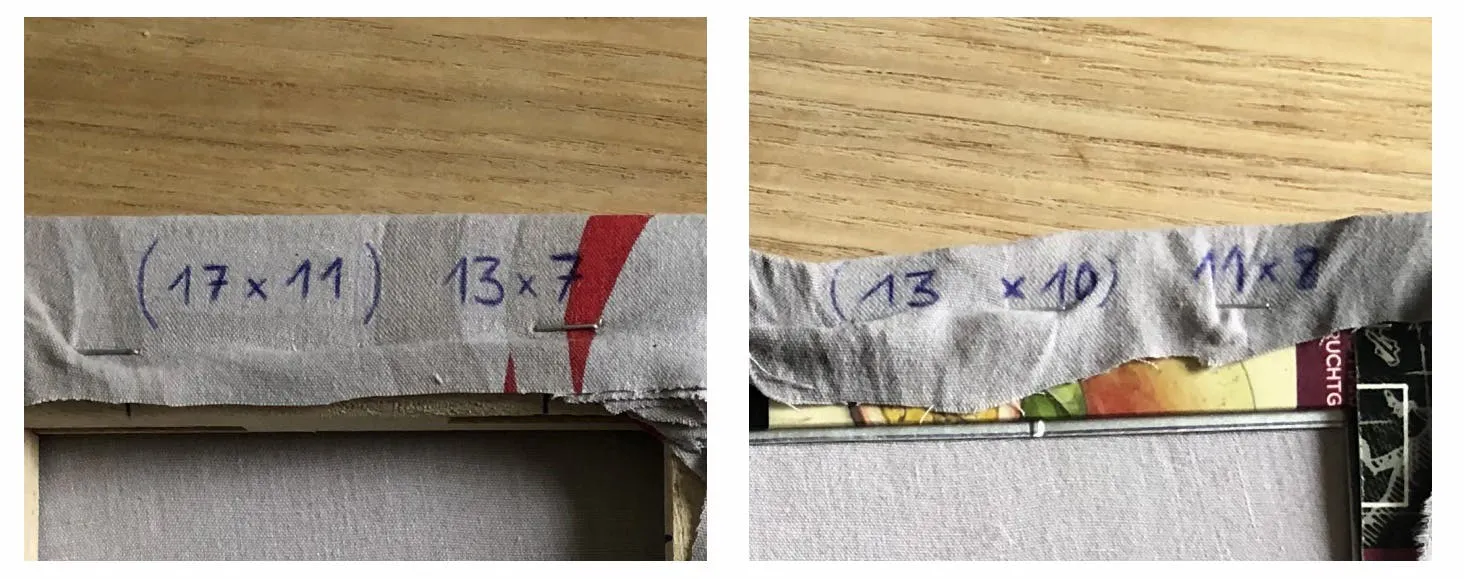
The size of your sieve determines the size of your stencil.
Die Größe deines Siebes, also die dir innen zur Verfügung stehende Fläche, bestimmt das Format deiner Schablone.
Measure the inner dimensions of your sieve and substract 2 cm / 0,8 inch of each side.
Miss die Innenmaße deines Siebs und ziehe an allen Seiten 2 cm ab.

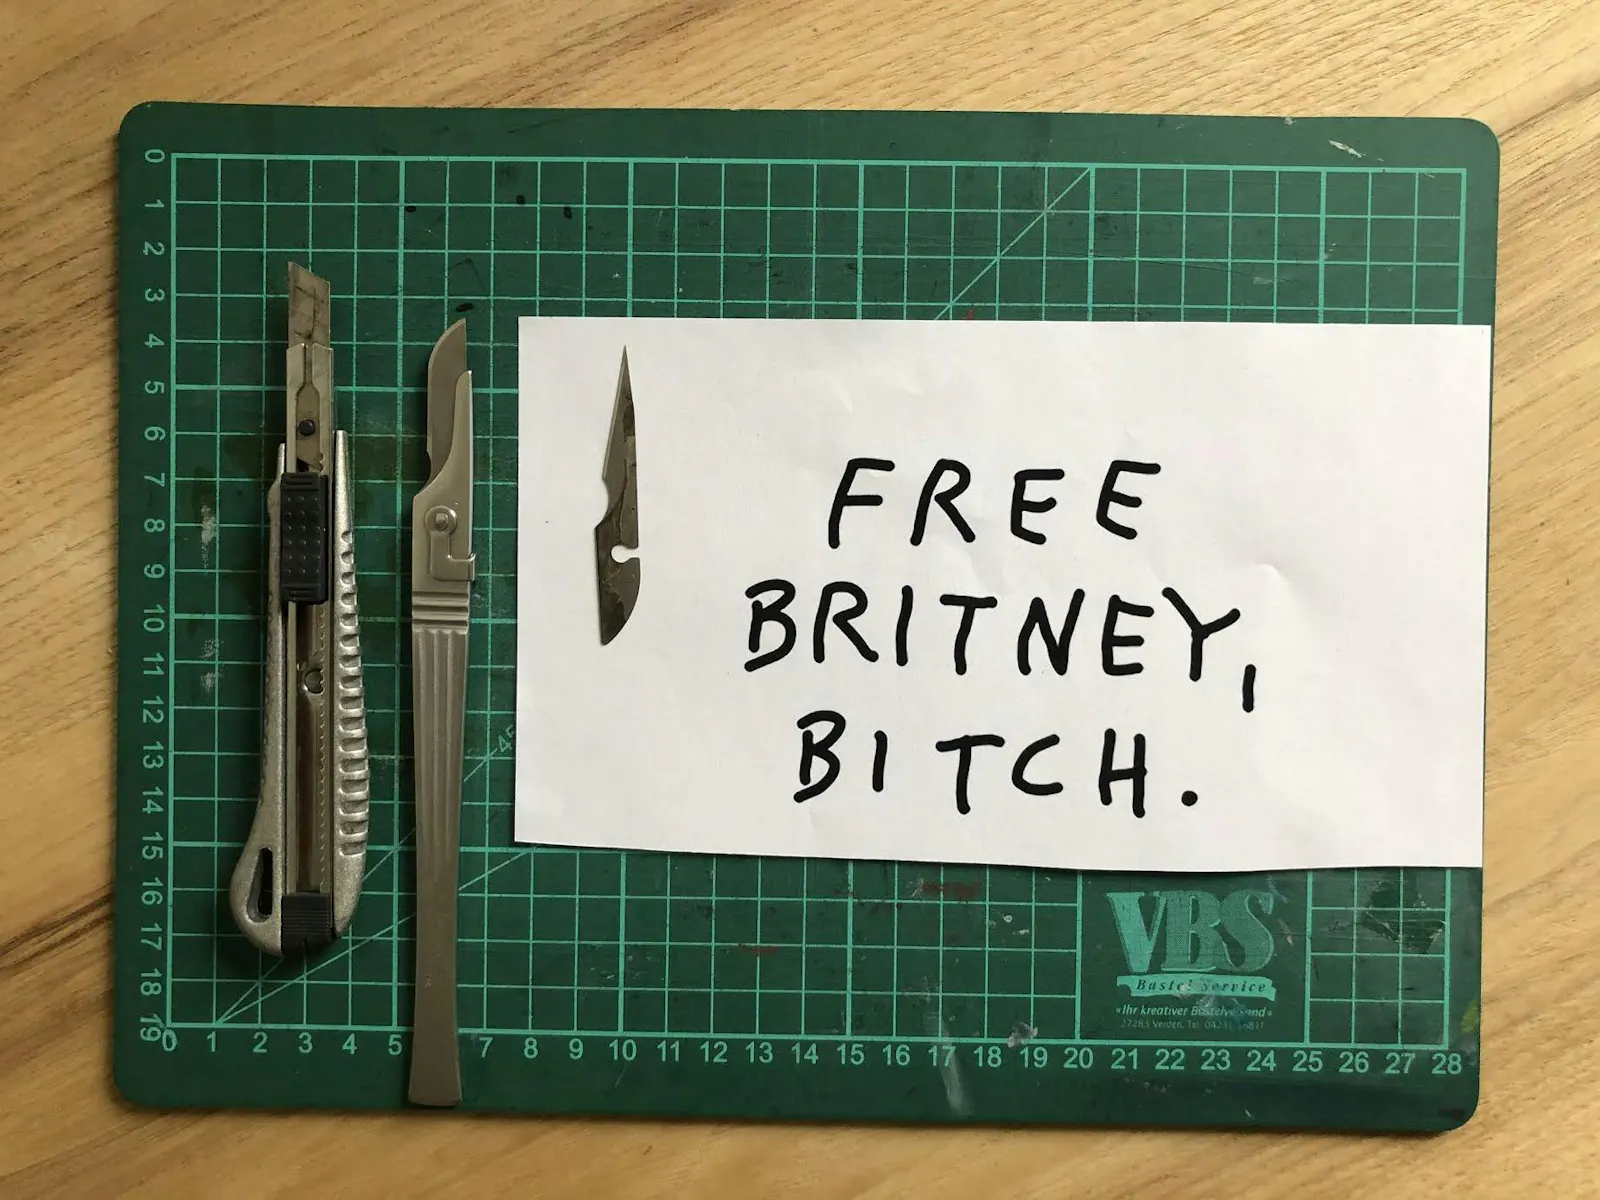
You'll need:
a cutter
a cutting mat
a print of your motif in a fitting size. You can also use a hand drawing instead of a print. Regular 80 gram paper is great to work with.
Du brauchst:
einen Cutter
eine Schneideunterlage
einen Ausdruck deines Motivs in passender Größe. Deine Schablone kann auch eine Handzeichnung sein, gewöhnliches 80 Gramm Papier eignet sich sehr gut.
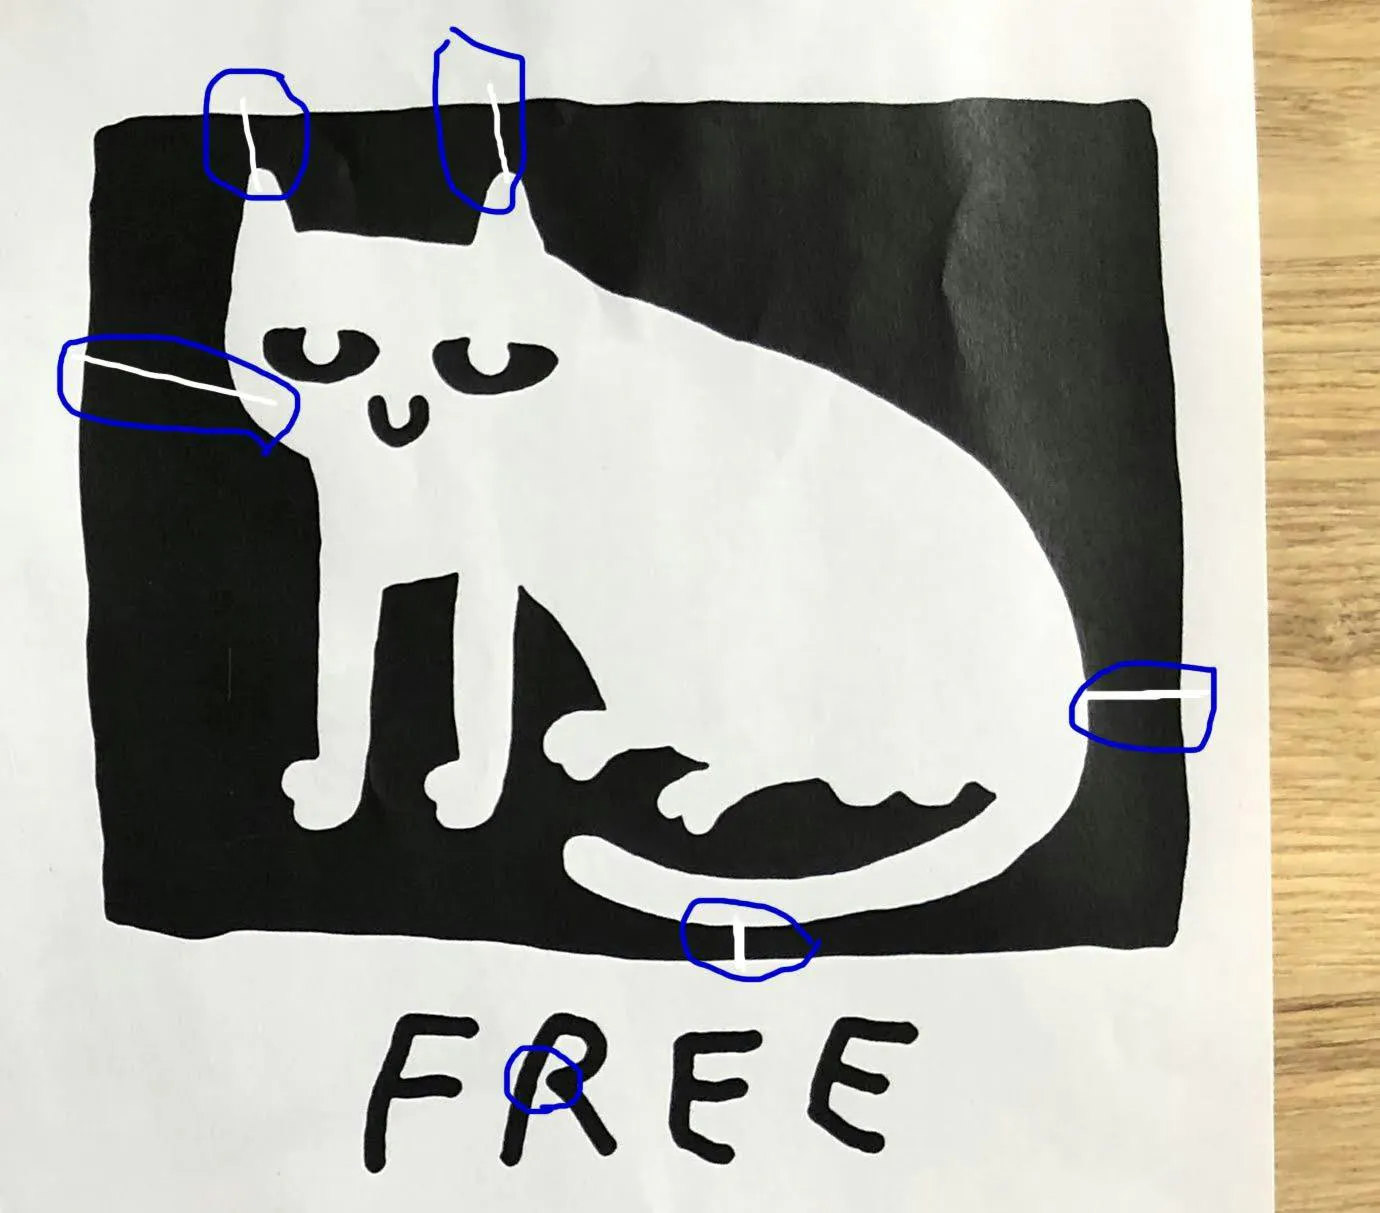
Caution: By cutting your paper, you carve out a path for your paint to get onto your printing object. Only cut out parts of your paper that are supposed to let paint through.
While cutting out your stencil, make sure your motif doesn't fall out of your paper. To prevent this, you have to leave subtle bridges (like the blue lines in the image):
Achtung: Schneide immer nur die Bereiche aus dem Papier aus, wo die Farbe durchkommen soll. Merke: du legst frei, wo die Farbe freie Bahn braucht.
Beachte beim Freilegen, dass dir dein Motiv nicht aus der Schablone fliegt. Das heißt lege geschickt Stege, hier im Beispiel blau eingezeichnet:
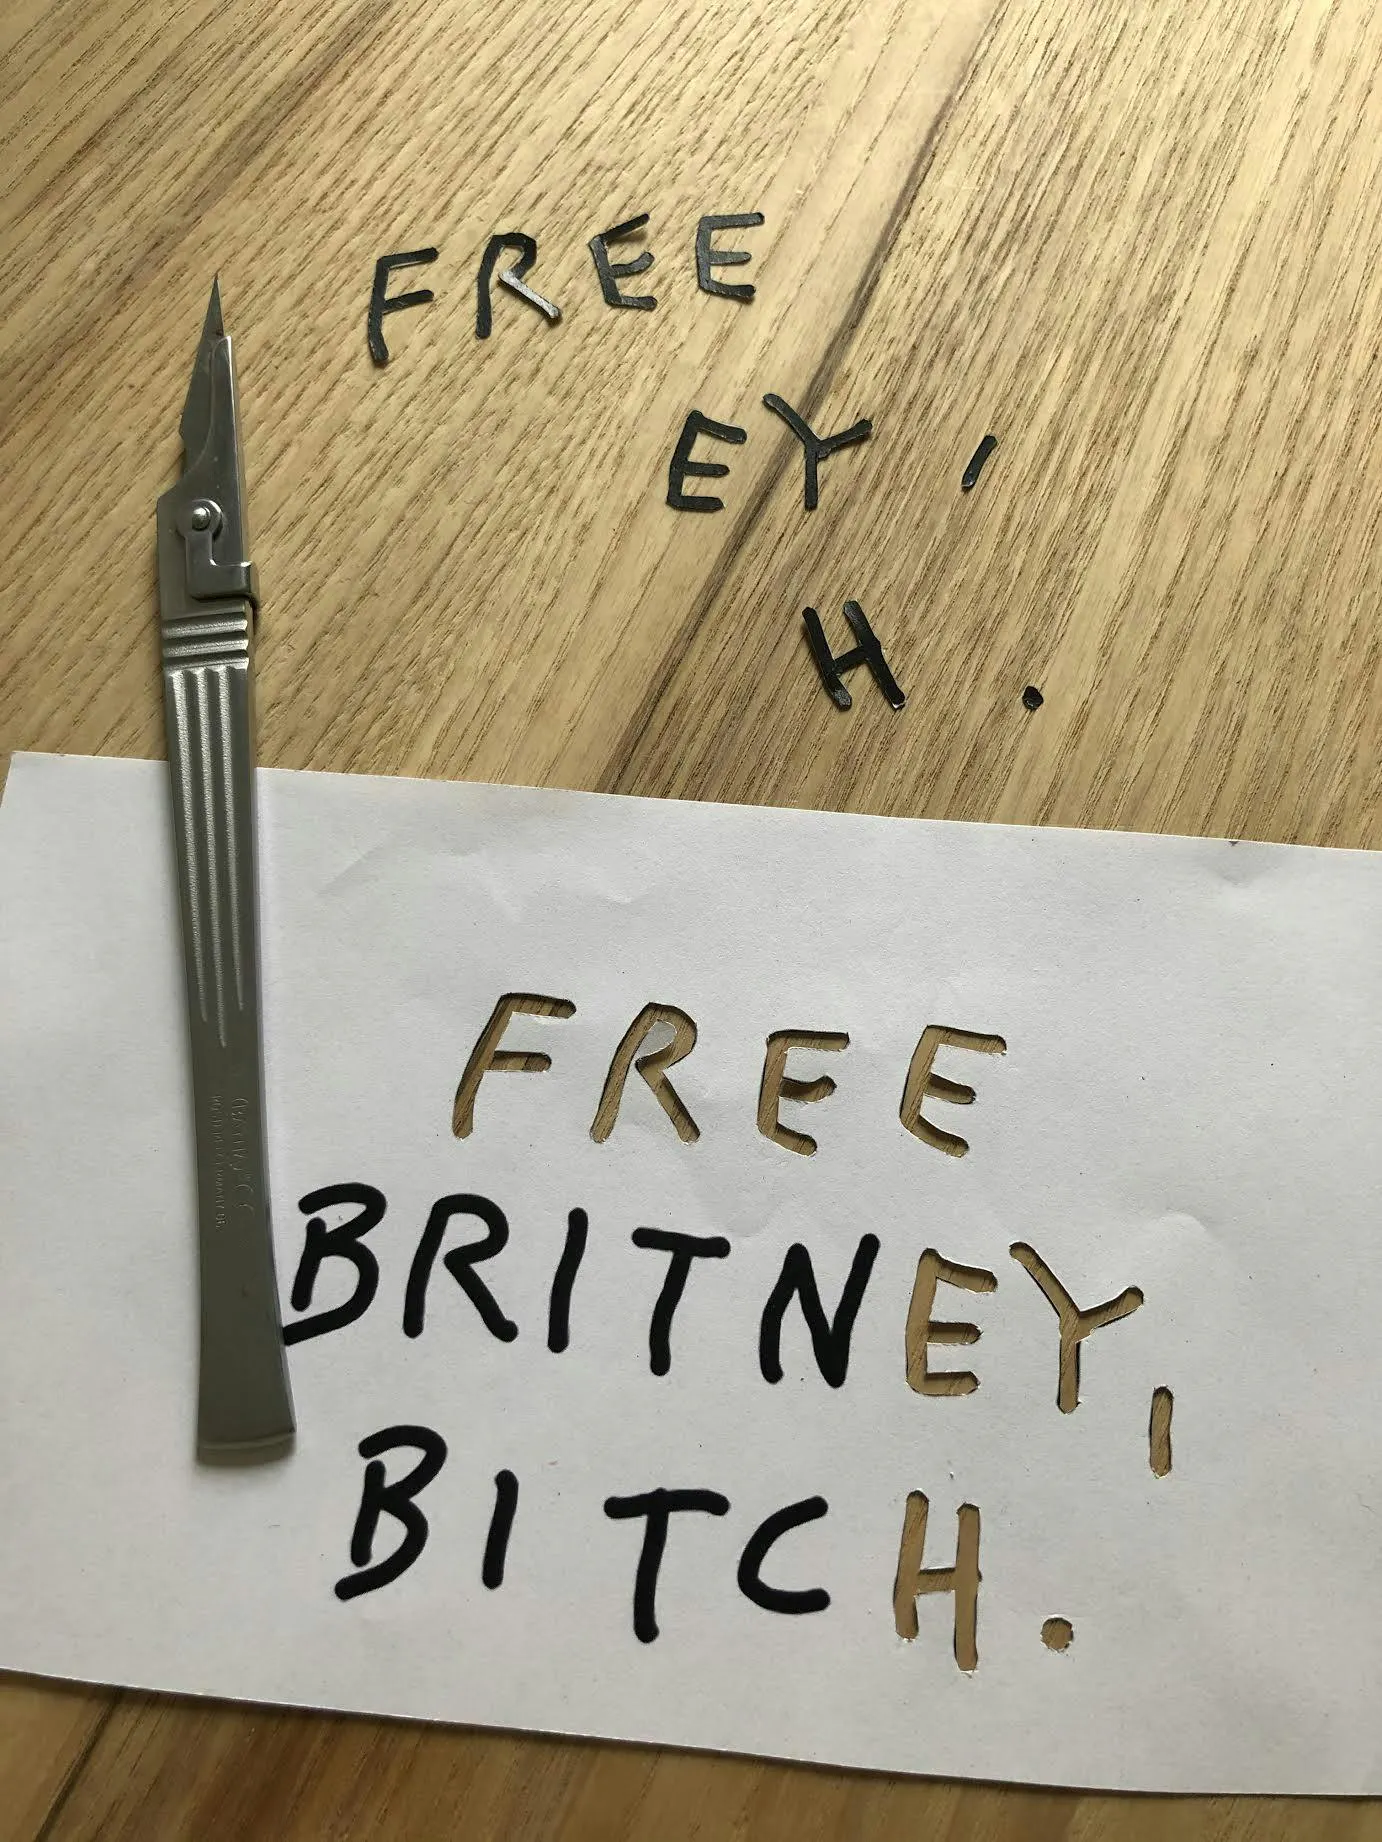
Handle your stencil with care.
Use a fresh blade for cutting, if possible.
Don't tear parts out of your stencil, it's super annoying if your stencil gets messed up by impatient moves.
Arbeite vorsichtig.
Nutze wenn möglich eine frische Klinge.
Die ausgeschnittenen Teile nicht aus der Schablone reißen, es gibt nichts ärgerlicheres als ein Stencil, das beim letzten Buchstaben einen Riss bekommt.
Die Mühe lohnt sich, wenn du dein Stencil nach dem Druck behutsam vom Sieb löst und trocknest, kannst du es mehrmals wiederverwenden.
It's worth the hassle, if you carefully remove your stencil from your sieve after printing, you can let it dry and re-use it in your next session.
Have fun! If you have any questions, we're happy to answer them at @nita_und_mikki (Opens in a new window) on instagram.
Viel Spaß dabei! Wenn du Fragen hast, schreib uns gern: @nita_und_mikki (Opens in a new window) auf Instagram.